Marcello Cavalcanti is a pro landscape photographer, teacher and tour leader for photography workshop trips.
Recently he led a tour with 9 photographers to beautiful Guatemala, where you can get up and close with Fuego’s Volcano (Vulcán de Fuego), a stratovolcano with 3.763 meters high (12,345 ft) that spills ash, plume and lava every 10-15 minutes, sometimes longer, sometimes shorter.
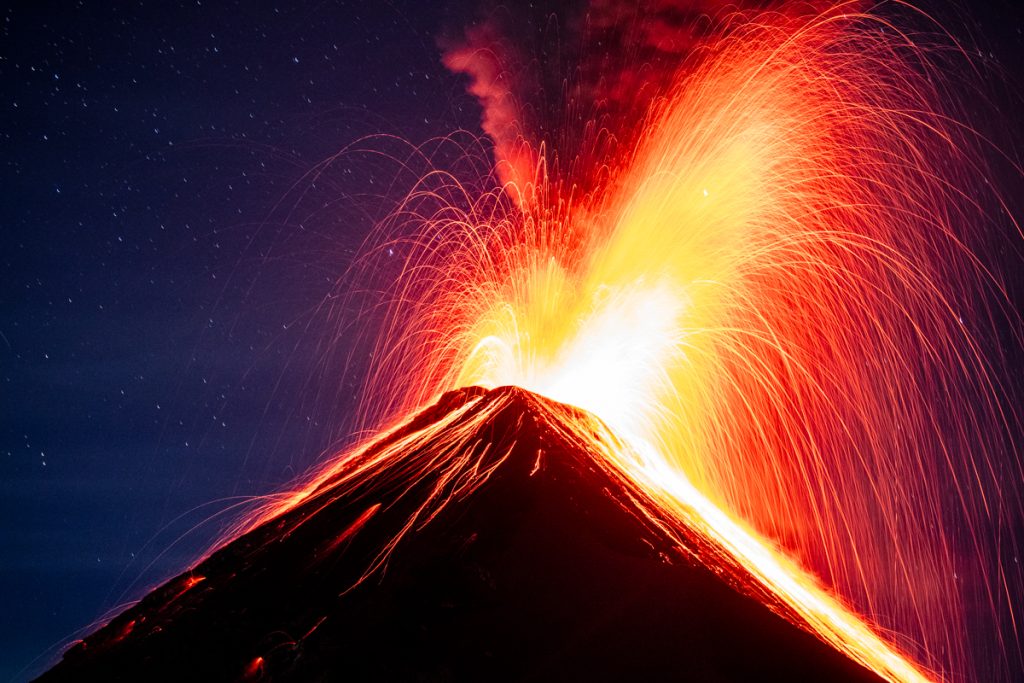
To shoot this volcano with the best possible view, he took his group to hike another volcano (this one, inactive, of course), called Acatenango, that gives you amazing views of Fuego, and in a very close position - they are aparted 2 km (6500 ft) away!
So, one important thing to know about volcanoes is that if they don’t make a lava river (like Fuego) you can’t see much during the day, unless a lot of smoke comes out of its mouth; the pictures of this huge column of plume are cool though.
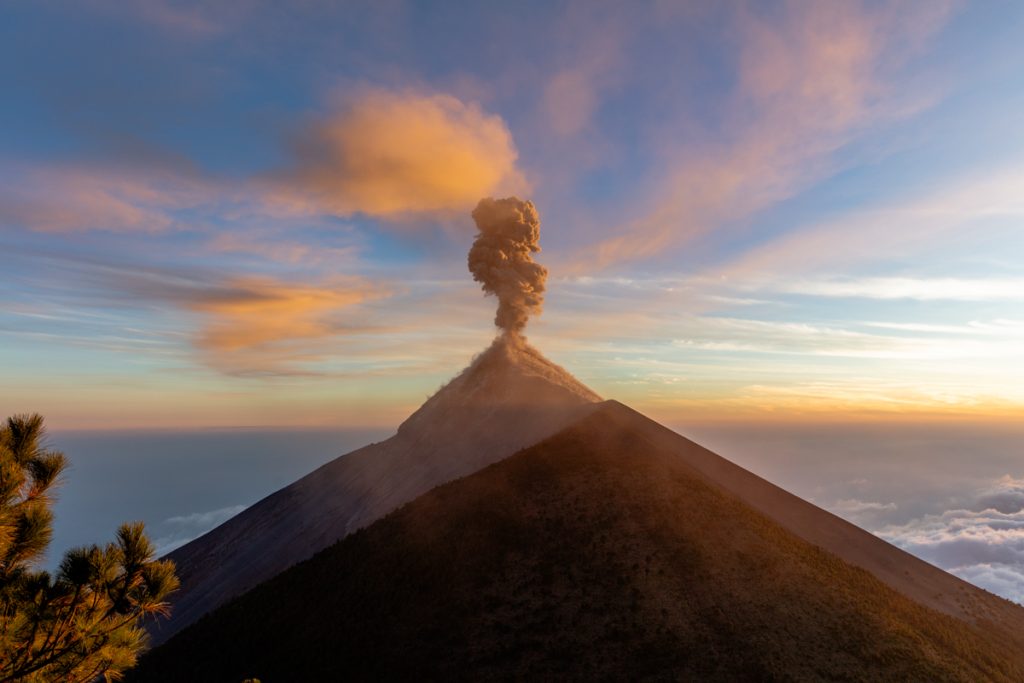
As there’s a lot of light illuminating the whole scene, you can make these pictures with the camera in hands, without a tripod (as long as you use a high shutter speed like 1/500 or more) which gives you more freedom to create different angled shots searching for an interesting foreground.
But, it’s at night that the real spectacle begins. Without the sunlight, the explosions of Fuego bring up amazing red lava, rocks flying and smoke. That’s when the really cool images starts to reveal, as long as you follow some basic tips:
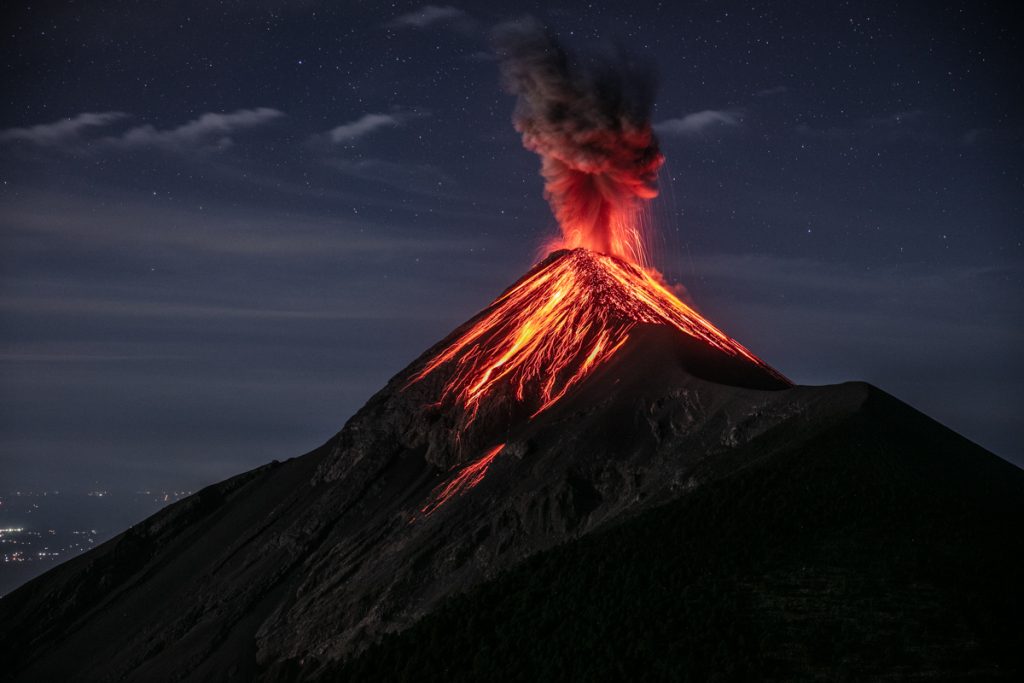
It’s really hard for any camera to autofocus in the dark, so rely on the manual focus, make it at any part of the volcano that you will be fine when the explosion occurs. Newer cameras like the mirrorless ones that have the live focus peaking feature are even easier to achieve the perfect manual focus. But, remember, if you change the lens or even change the focal length using the same lens, you will need to redo the manual focus.
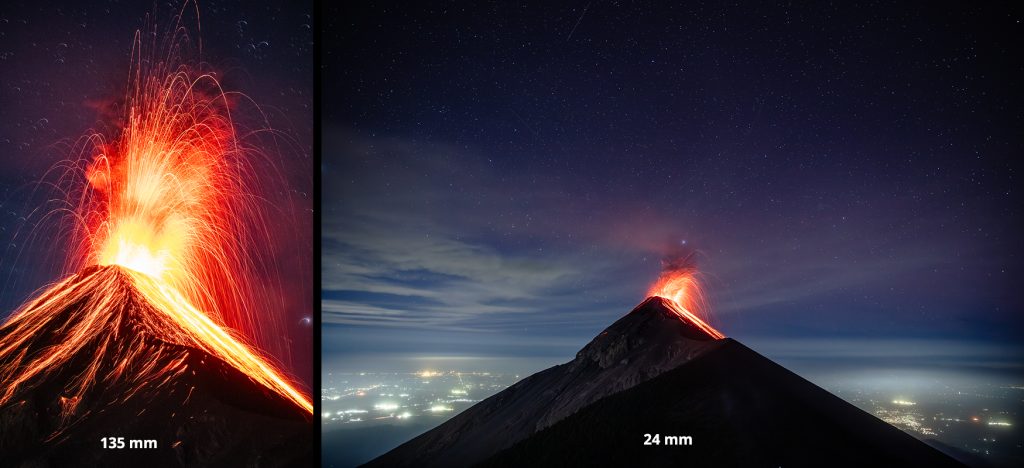
In this experience we tried different focal lengths to have different shots every time Fuego gives his show. As we were really close from it, the longer length i used to frame the whole scene was 135mm, so a 70-200mm lens is more than enough to do the job. The results are impressive! On the other hand, if you want to make an image with the volcano plus the starry night sky (or with the long and tall smoke column) a wide angle focal length between 15 and 24 mm will work perfectly.
To make any active volcano pictures you will be around a lot of ash. Every explosion releases tons of ashes in the air, that falls within a radius of dozens or even thousands of kilometers. So my pick would be any f-stop with the Duradiamond exterior, to prevent ashes coming inside the backpack.
We spent the night at the base camp of Acatenango shooting Fuego, so you also need to bring warm clothes, gloves, water, some food, so think about a larger backpack than you usually use on your daily photo shoot sessions.
I used the Tilopa 50 during this trip and it was for sure the right choice not only because of its rugged exterior protection but also because it fits everything i needed for this adventure, including a 100-400mm lens that i used for closed shots of the volcano (i had this lens in Guatemala to shoot the quetzal bird, but that’s a story for another post! )
For any further questions, you can find Marcello on his instagram profile: https://www.instagram.com/marcellocavalcanti1/

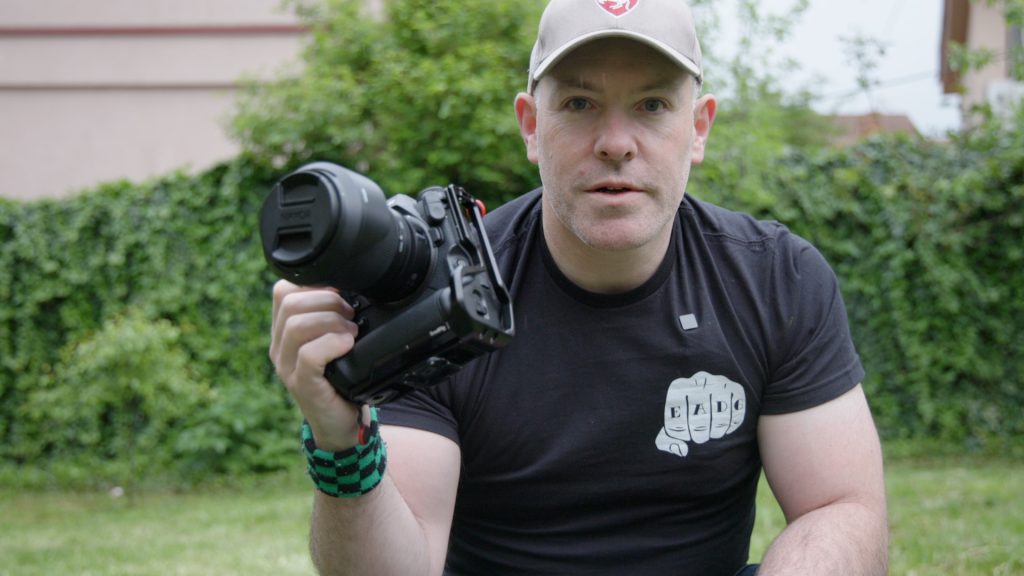
Conor MacNeill, also known as the Fella, is a travel & landscape photographer. His biggest passions always was traveling and exploring which actually brought him to photography. Now he does both with a focus on landscapes, cityscapes, and sometimes astrophotography or even Deep Space.
Conor's philosophy extends beyond photography; he's also on a mission to greet every street dog he encounters, adding a heartwarming touch to his travels. Filmed at the Pro Hangout in North Macedonia, Conor reveals his minimalist approach to travel photography, showcasing how he navigates the globe with a compact, yet powerful photography kit.
After a trip in Kosovo Conor visited us at the Pro Hangout in North Macedonia and walked us through his travel kit


"I am not just here because of the photography and meeting everyone, I am also here to say hi to all the street dogs! "
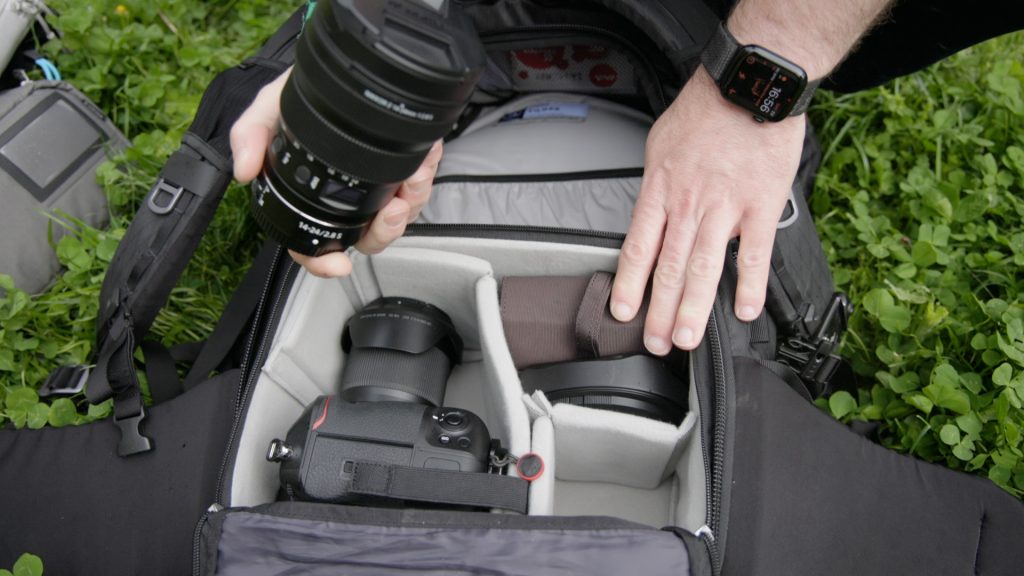
His Tilopa houses only his Small Pro Insert with one Nikon Z9Body with a Battery grip and 2 Lenses, a Lens Hood, a Filter case, a Tripod, a few receipts, a memory card case, and clothes. Throughout his traveling and multiple packing occasions, he learned packing light tailored for him without compromising. Conscious decisions about what to bring is his blueprint. Think about what you really need.
Which one is more important to you specifically – weight or variety of gear?
In the past, Conor had multiple Batteries with him for his Camera. For these, he had also different compartments in his pack arranged so he could know which Batteries were full or which were used. By now he is only using his Camera with the Built-in Battery Grip which gives him enough Power supply throughout the day. At night he just plugs the Camera in with USB C and charges it like this.
This Workflow also allows him to save weight and space on Batteries, chargers, etc. He reduced it to the most needed items.
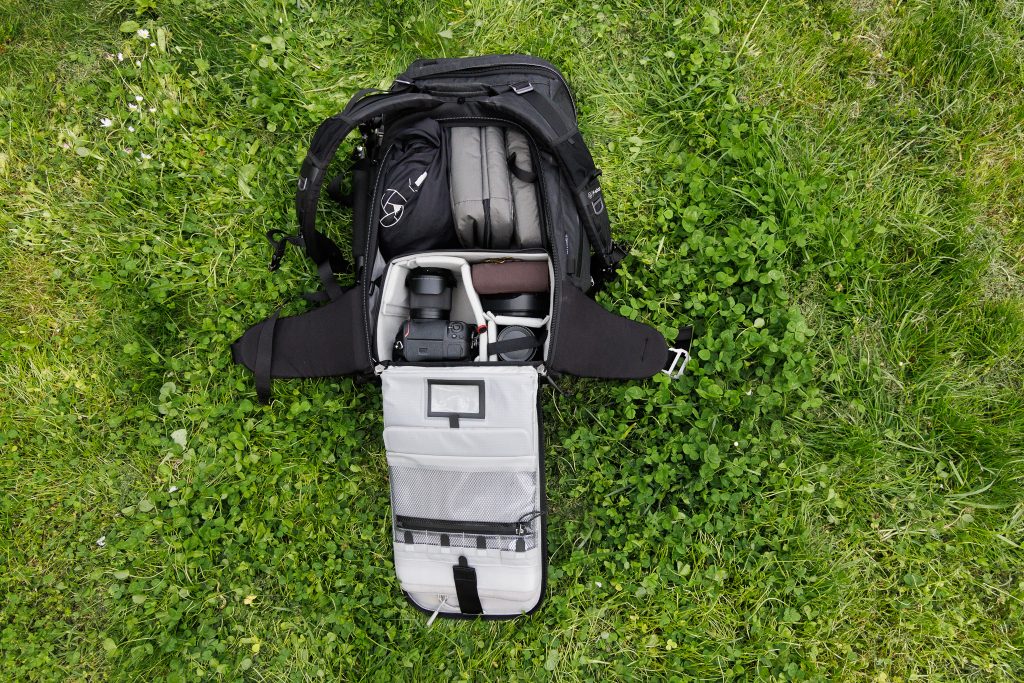
A look in his pack shows 4 parts of Cubes/pouches. Conor also repurposes some accessories like the dust cover as laundry bags in which the f-stop packs come shipped in, minimizing waste, and maximizing utility. He also gives the Accessory Pouches Large a different function to transport his clothing and keep it organized. Everyday items like socks, shirts, and undergarments are neatly packed away. The rest of his pack is very straightforward as well. Mesh pouches hold receipts and SIM cards or other items he needs when traveling for business while larger compartments hold his Gym Kit or a Jacket.
Heavier items, such as camera gear, at the bottom for optimal weight distribution. His laptop stays in the Laptop sleeve with an additional protective Case as well so he can take it out at airports and carry it around.


A well-padded laptop sleeve keeps my device secure, while a custom camera insert houses my essential photography equipment. Conor is selecting a compact kit tailored to my travel needs, including a large camera with a built-in grip and a versatile lens selection. USB-C charging capability further benefits my setup, reducing the need for multiple batteries. Having his items in different Compartments allows him to change, swap, and rearrange or similar quickly.

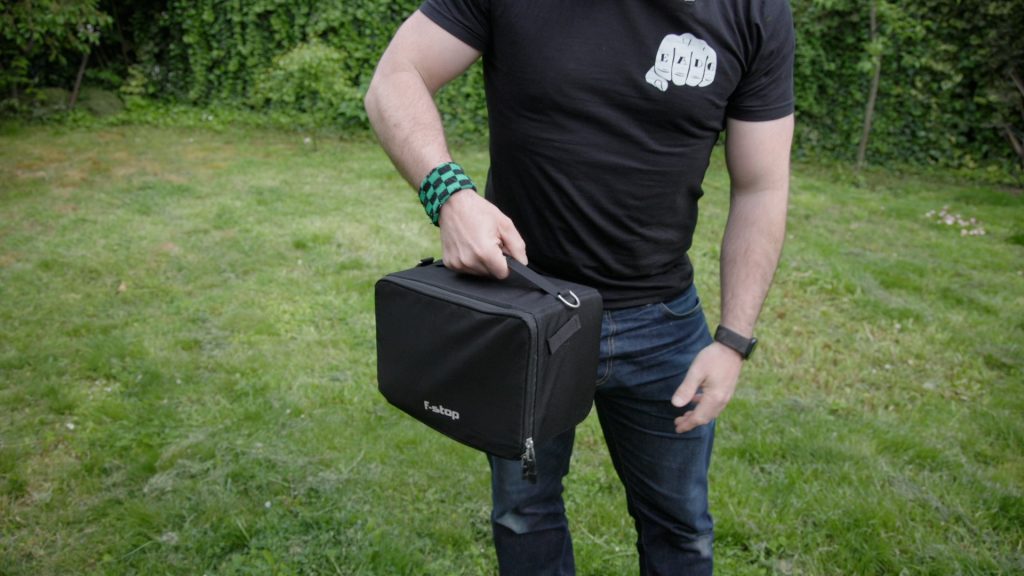
If Conor needs to take out the Camera Insert due to having to check in the Camera pack or he just needs to change it over in a different pack he folds up the flap of the insert, zips it up, and can carry it easily through the airport. Photos below show Conor with the Small Pro Camera Insert closed up - as he jokes with a camera Suitcase

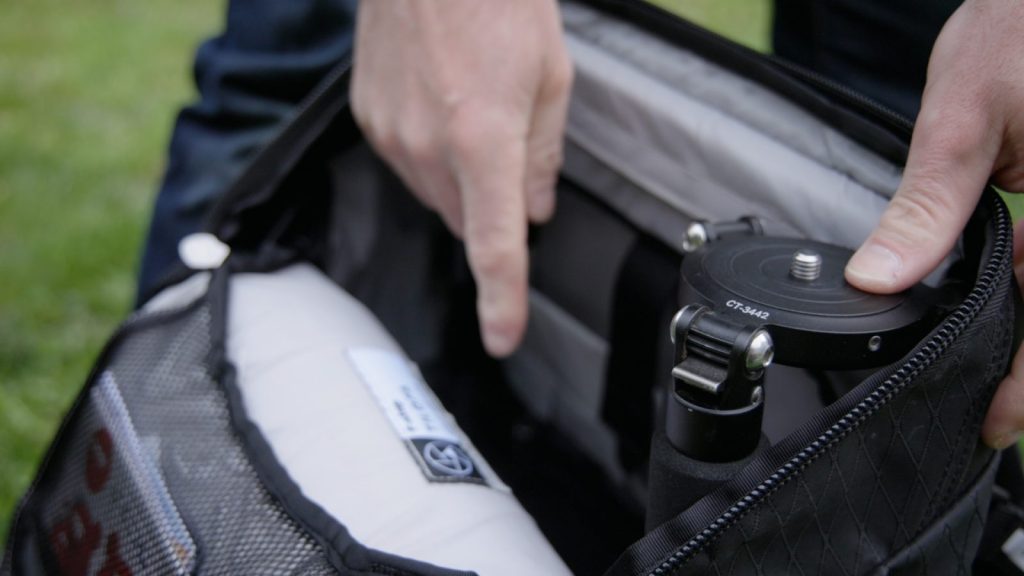
Handling tripods can be cumbersome, especially during travel. With Gatekeeper straps, he fastens the tripod to the outside of the bag. The Bottom Gatekeeper strap over all three keeps the legs secure and the Top strap through two legs to secure it from slipping down.


In case Conor is planning to travel with small planes he makes his packs look more compact by removing the ball head and placing both the Head and the Tripod in his Camera bag next to the Insert. The Tripod without the Ball head perfectly fits in his Tilopa from the Height still, so a conscious decision on a tripod height or being able to remove a ball head is part of his strategy. For him, this is ideal for navigating through airports or tight spaces.
“As a conscious traveler, I strive to minimize waste and maximize utility. Making conscious choices that can enhance my travel experience!”
Connect with Conor : https://thefella.com
Nick's gear bag opens to reveal the main compartment, carefully organized to accommodate his primary camera system. His packing reflect Nick's commitment to professionalism and preparedness, vital qualities for any serious photographer or filmmaker.
...but as a vital component of a professional workflow.
With a nod to the unpredictability of industry Nick’s bag is not just a collection of gear; it is his safety net, ensuring that no matter the circumstances, he can always deliver.
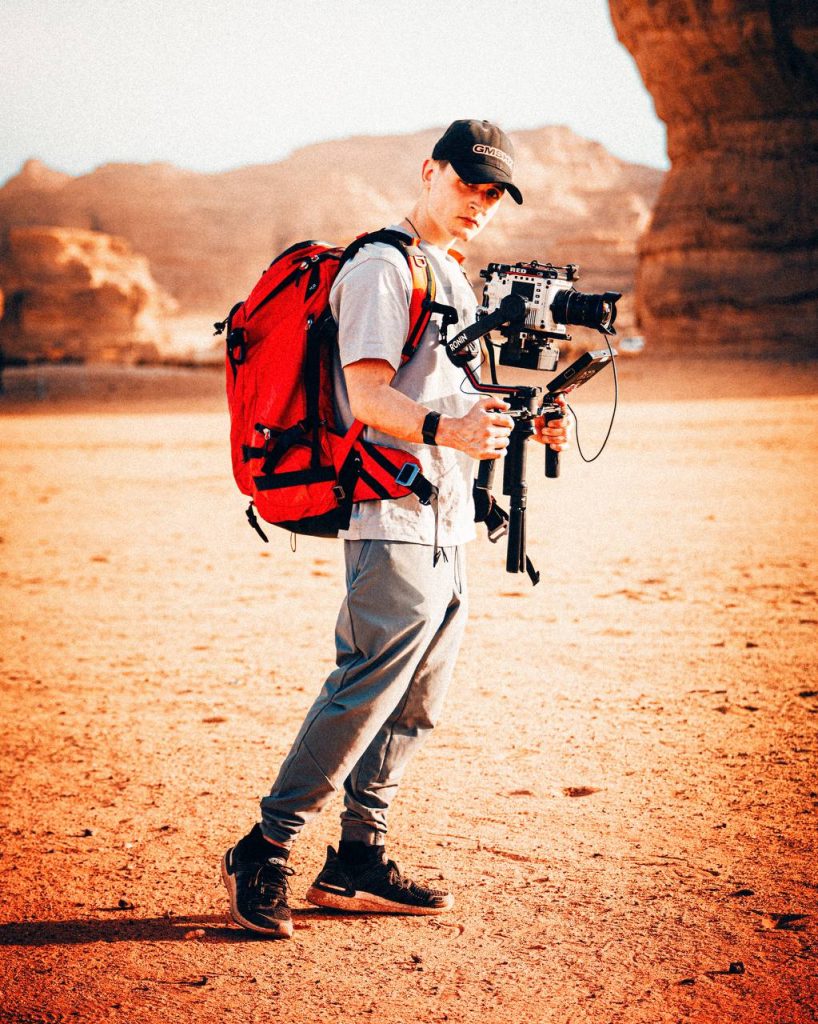
Nick relies on a range of gear depending on the project at hand. For smaller jobs, he opts for Nikon gear, keeping the load light and efficient. However, for larger shoots, he needs to utilize a mix of equipment, including drones, gimbals, and multiple camera bodies, such as RED cameras.
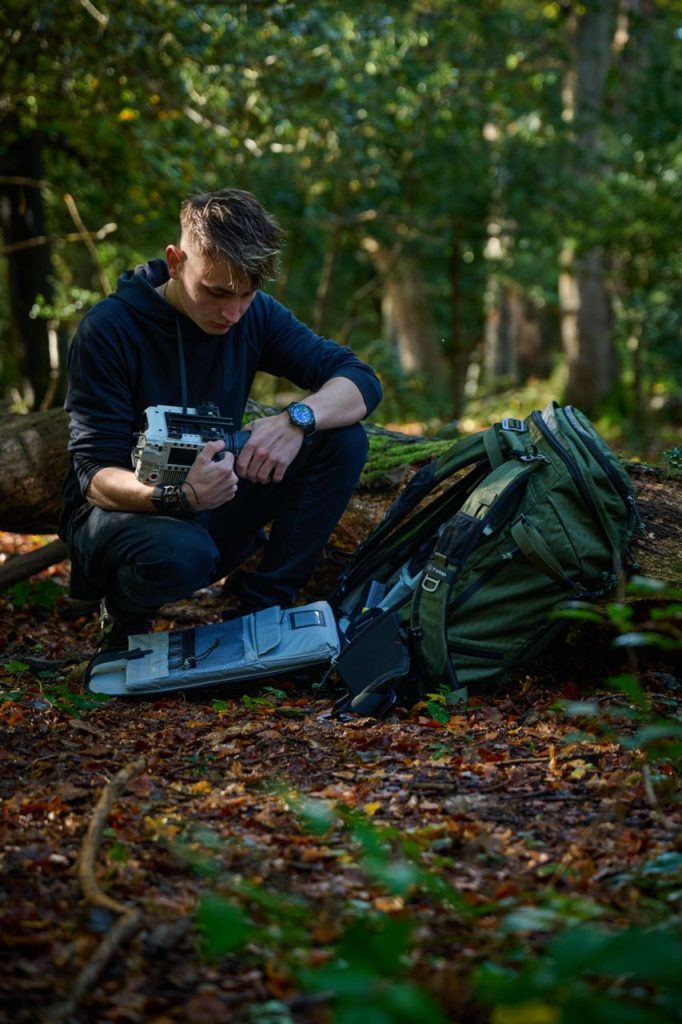
He takes advantage of the modular setup, utilizing interchangeable camera inserts (ICUs) often also pre-packed for specific applications. This allows for quick transitions between different types of shoots in between different packs. On the other side, he also stores the gear in the Camera insert at home in the Camera Units and just shoves in the pack what he needs.
"For me, it is the best way of keeping my gear organized when I'm not traveling. I just have things stored in Inserts at home like this, also ready to be put in a pack."
One of the most draining tasks next to shooting is to carry all you need with you from place to place. Arriving tired on set or just getting worn out throughout the day are two things Nick tries to prevent as best he can.
All the f-stop packs have a "comfort weight" as we call it and recommendations for carrying gear safely and comfortably, but what if you just need more?
Weight from not only the camera gear but also batteries, cables, hard drives, computer, and accessories quickly adds up. Nick has a high tolerance for the weight he can carry – so his comfort weight may not be the same as for someone else of the same build. A lot of factors come in here like condition, muscles, resilience, etc. Some say Nick is a packhorse when it comes to carrying gear - We call that dedication!
The first thing he does is to make sure he selects the right pack for the right needs. Every pack is purpose-built, and the f-stop pack up from 50 L has thicker padding to provide more carry comfort for heavier packs, longer trips, etc. His go-to pack is the Tilopa 50 L due to the compact weight distribution which allows him to carry everything as close to his weight center as possible. If he would need more room, he takes the Shinn 80 L.
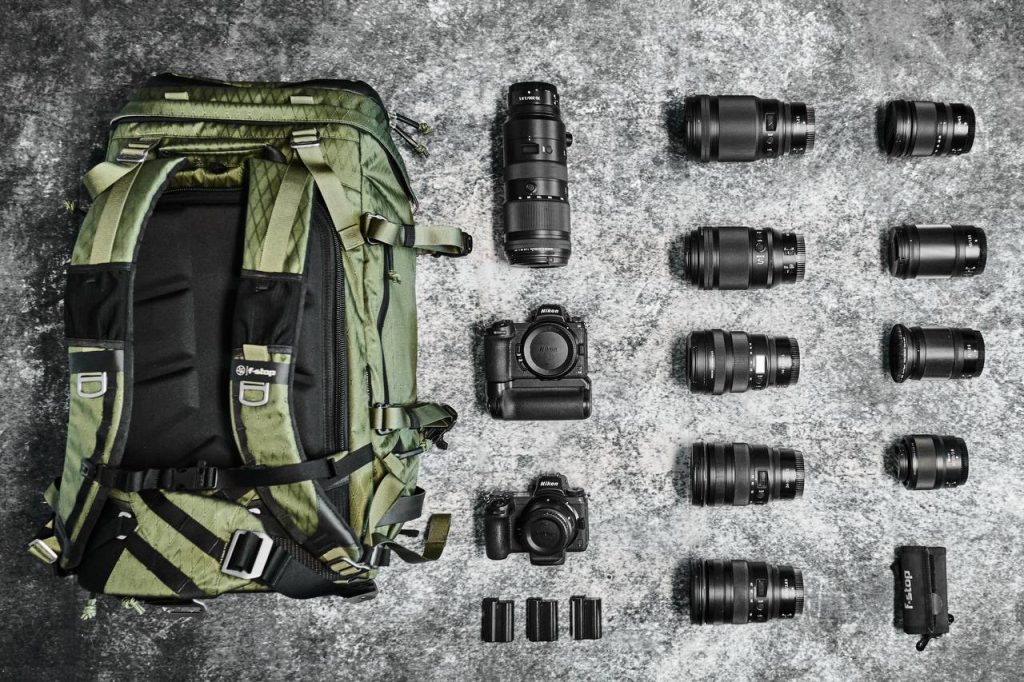
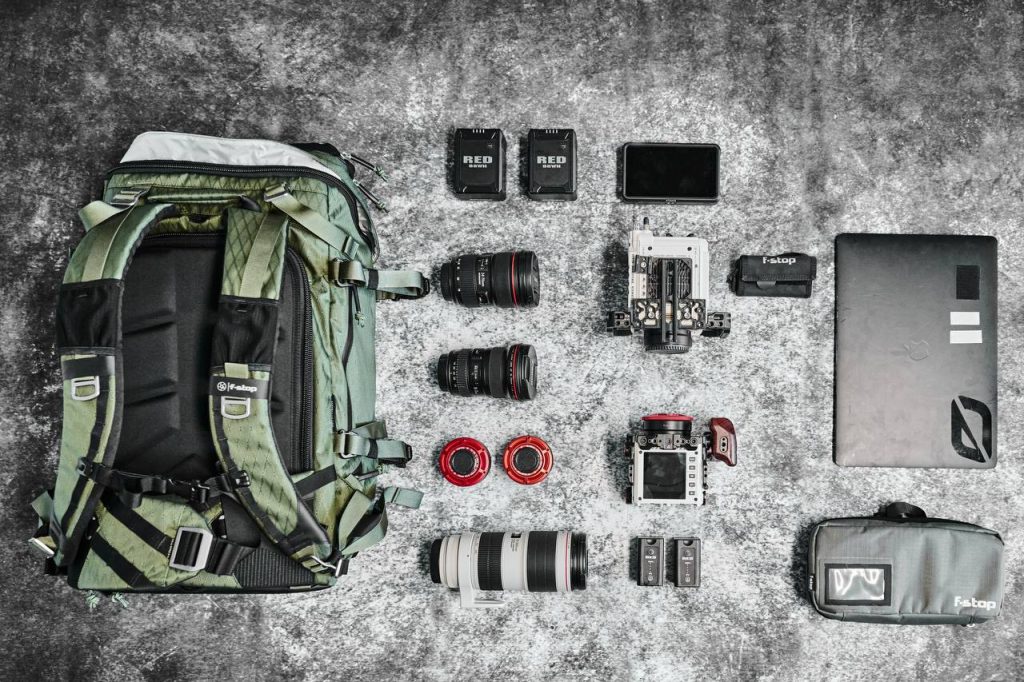
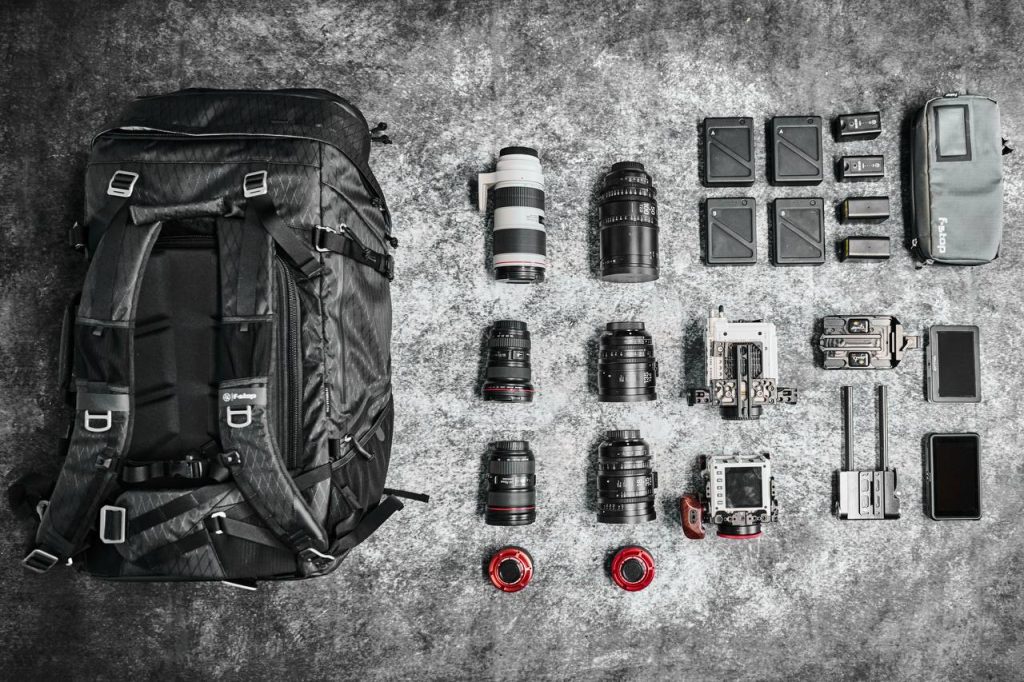
Central to Nick’s workflow is the organization of his gear.
When packing, he rather takes the time he needs than pack in a rush. It needs to fit and fulfill his needs so smart arrangements will save him time, having to repack, and avoid any frustrations. When packing the Inserts for specific jobs, he just takes all dividers out and rearranges gear how it fits best.
Another big focus when arranging his gear is distributing the weight as evenly as possible and ensuring easy and fast access to essential items.
"I've always taken the approach that I can work harder and carry more as long as it's going to give me the best results. But I need to balance that with not being tired and wearing myself out or being slow. I need to be able to be agile. I need to have the gear that I need and not take too much whilst also having enough that I'm not left lacking."
Be creative Arrange the gear in how it works best for you specifically.
“I've been packing these bags for some time, and I find that the more creative I am and the more I allow myself to experiment and take my time instead of rushing, the better the outcome. Having redundancy in gear, even if it makes the pack slightly heavier, is far more important to me than the weight of my pack alone. Obviously, carrying weight safely is crucial, which is why I ensure everything is secured at the bottom. But as long as I'm packing safely and taking care of myself, avoiding arriving on set tired, I find it to be incredibly valuable.”
Nick Leavesley
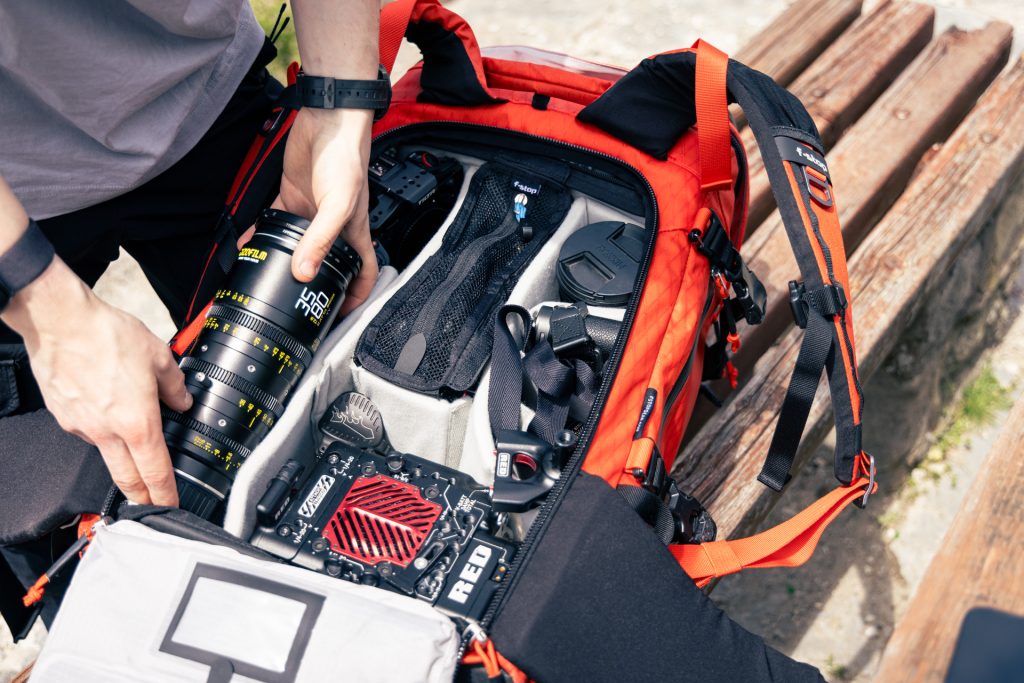
At the center lies his workhorse camera, a state-of-the-art RED model paired with two more Camera Bodies and lenses alongside a drone in this setup. He makes sure he is equipped to tackle any photographic challenge and be flexible and versatile for whatever he gets his teeth hooked in. To complement his RED setup, Nick also includes a compact DSLR as a backup camera, ensuring redundancy in case of equipment failure or unexpected contingencies.
Heavy equipment like the RED Brain camera, together with the V-Log and also the monitor adaptor for the RED 7-inch touch screen, is placed at the bottom to prevent any long-term warping of the camera insert and maintain balance during transport. He finds it's nice to be able to just put it pre-assembled straight in the bag. It saves me from having to assemble everything.
Nick is all about adaptability and preparedness. Through investment in versatile gear and a flexible organizational system, he avoids stress and saves time, so he can handle a broad spectrum of projects. Every aspect of his setup is designed to maximize efficiency and creativity in the field. Not needing to worry about where things are or having to repack his pack to stay organized is highly valuable for him and keeps him focused on what in front of him.
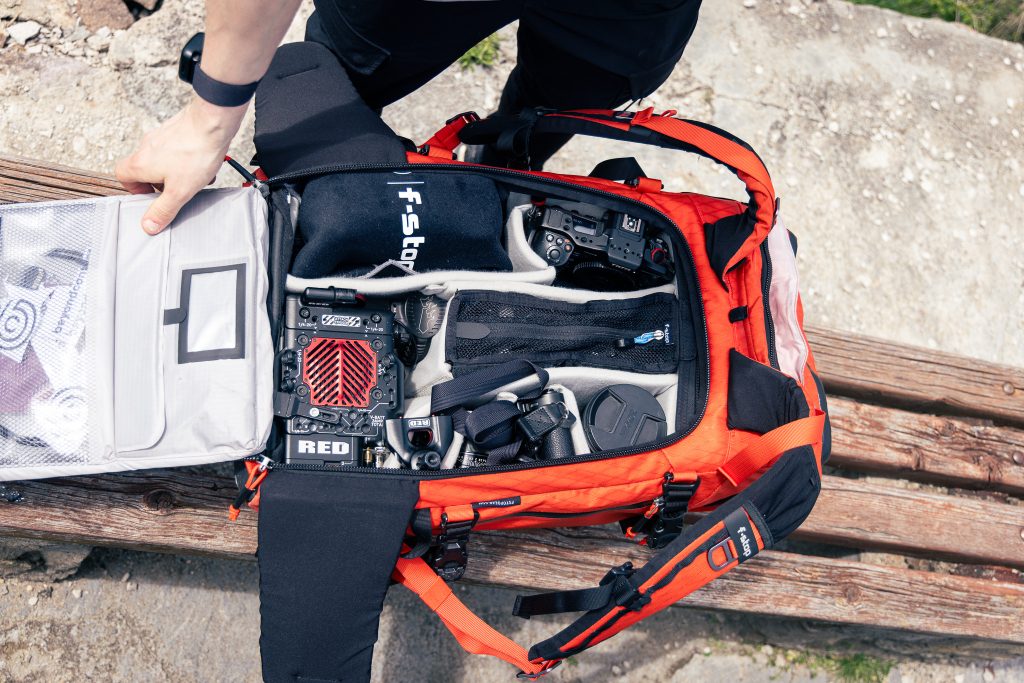
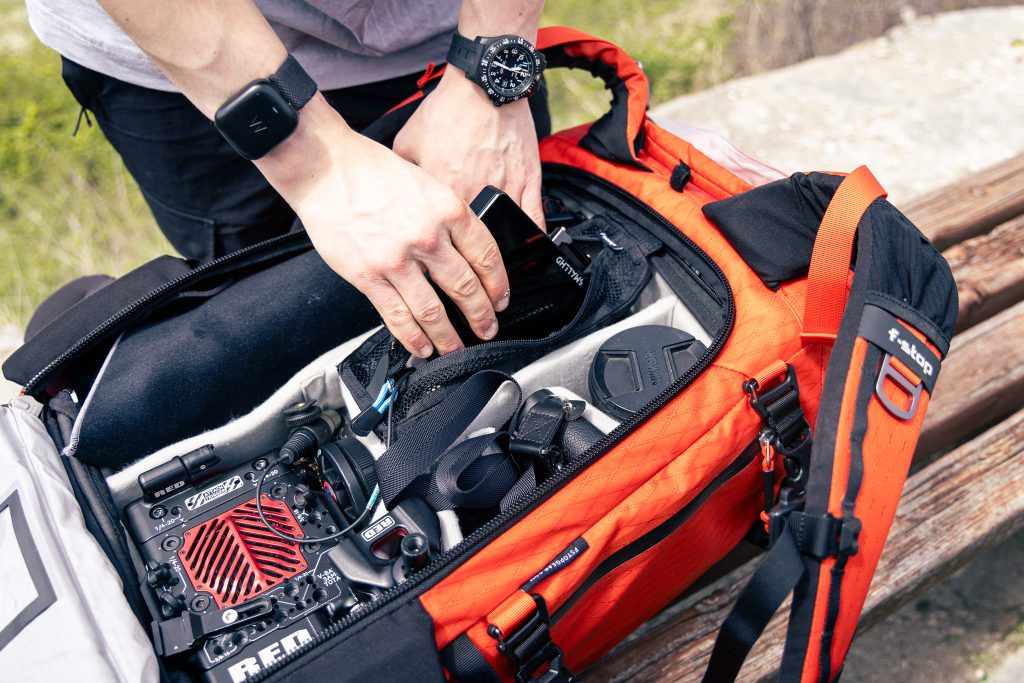
Items such as a drone (DJI Mavic 3 Pro or DJI Air 2), lenses, sound equipment, and accessories are strategically positioned for convenience and efficiency. He carries the Drone in a Protective wrap and due to the depth of the Insert can place another Lens stacked on top (in this case a 200 mm)
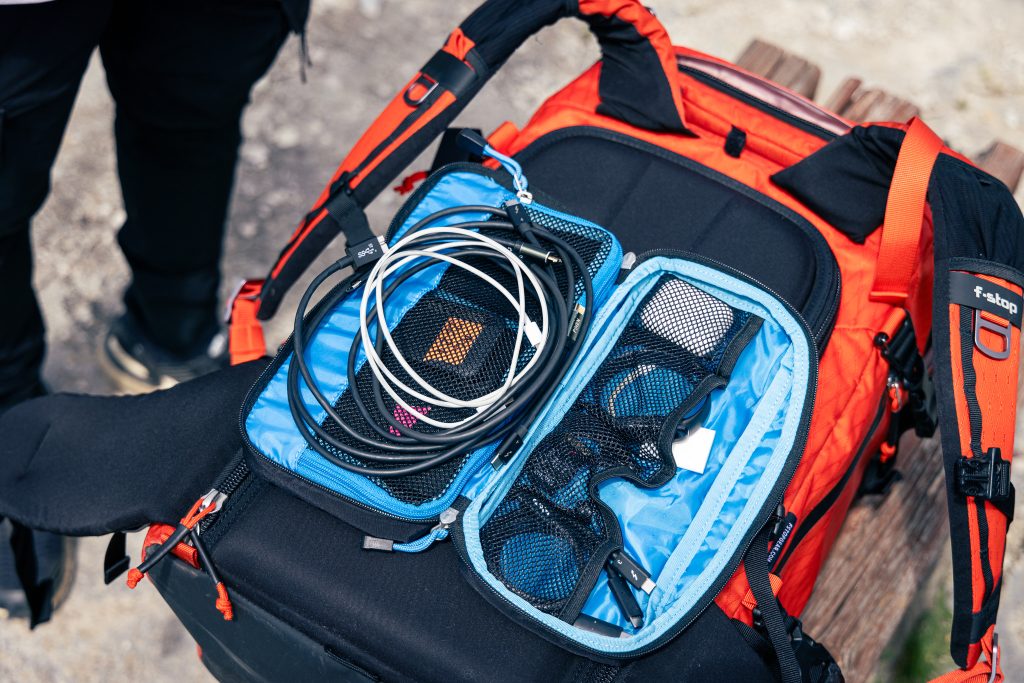
Adjacent to the main camera setup, Nick's gear bag houses an array of essential accessories He brings small accessories and cables in dedicated pouches and compartments to prevent loss and ensure easy access.
A robust V-lock battery pack ensures uninterrupted power supply throughout long shooting sessions, while a specially designed adaptor allows seamless integration of a seven-inch touchscreen monitor, enhancing monitoring and playback capabilities on set. Nick's dedication to detail extends to the placement of smaller accessories such as backup cables, chargers, and adapter plates for quick retrieval when needed. This organization not only maximizes efficiency during shoots but also minimizes the risk of misplacing or losing valuable equipment in the field.
He also always carries a variety of Gatekeeper Straps, allowing him to attach miscellaneous items outside the pack. Sometimes, he attaches a lens (in a case), a tripod, ropes, etc. One or two small carabiners are always found hooked in the gatekeeper attachment points.
"You never know when you're going to want to clip something to your bag, whether that's a water bottle or just a random kind of bag or something that needs to be carried. Sometimes I also use these gatekeepers to carry longer lenses, so if I'm doing any telephoto stuff, these will be perfect. I always go overkill on how many gatekeepers I need because on shoots, I often change this setup live. It's nice to be able to have the flexibility and plenty of gatekeepers to do that.
At the top of Nick's gear bag lies his mobile editing workstation. Nick always tries to bring a powerful laptop at all times. Currently, he is using the 16-inch M1 MacBook Pro.
In a dedicated compartment within his gear bag, Nick stores a variety of hard drives and memory cards essential for data management and backup. Portable SSDs provide redundant storage solutions, safeguarding project files against loss or corruption. Spare cables are readily available for connectivity and data transfer. Data management remains a top priority, with redundant storage solutions and backup drives ensuring critical files are consistently safeguarded.

“I try and tailor my workflow around USB-C. I think it's a great format and allows a lot of flexibility and all of the computers I use can take USB-C. But I do need to make sure that I have cables in place so that if a client doesn't, I can give them a USB cable.
To store data securely and have all necessary resources at your disposal. At the end of the day, clients are paying a lot of money. He therefore maintains a few in-progress hard drives and hot spares ready, just in case of failures or the need for backups. When working in a team or with multiple bags Nick makes it a practice to distribute a project across two bags, mitigating the risk of total loss due to damage or if someone loses a bag. In challenging shooting environments stress levels can be high and distractions frequent. So you need to calculate this in.
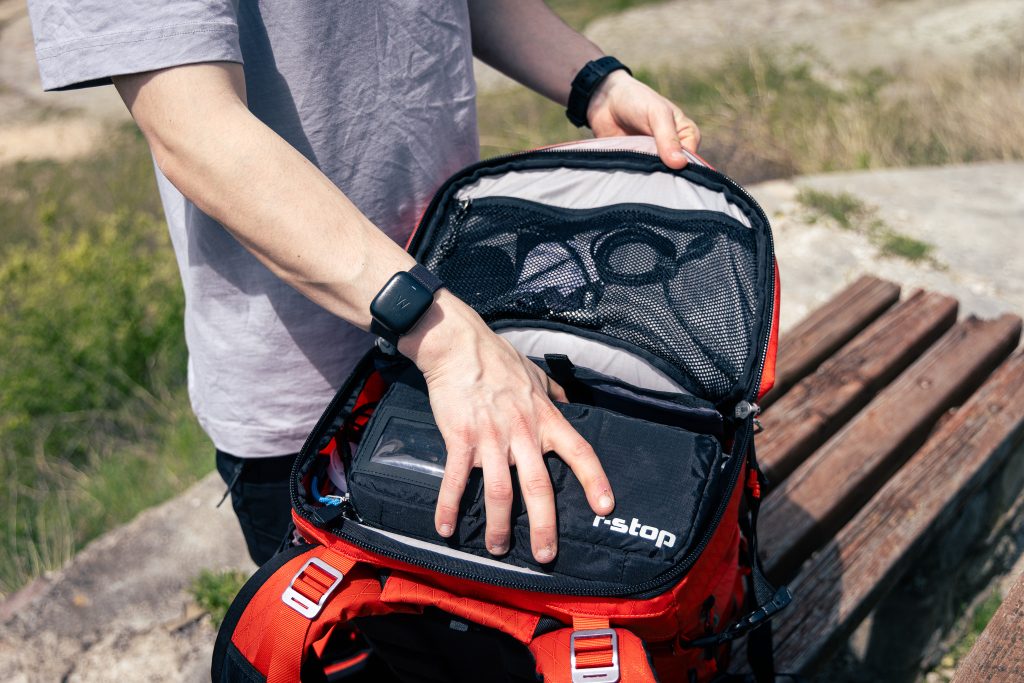
“Given my frequent juggling of multiple projects, the ability to store five or six projects simultaneously is essential. This is particularly vital when working with RED cameras. TB quickly add up!”
In addition to video, Nick also captures stills, organizing hard drives by year or project. These drives contain not only the images but also the Lightroom catalogs. He maintains a separate directory for RAW files from Capture One at the top of each drive. Additionally, Nick always packs a few backup micro SD cards, which are easy to overlook but essential. For instances where a client needs a quick photo directly from the camera or a device, I ensure an SD card to lightning cable is on hand for immediate file transfer, facilitating instant sharing of quality images.
The importance of having all data backed up and securely stored can not be overstated. Losing data is not an option; thus, whether through cloud backups or multiple hard drives, safeguarding data is imperative.
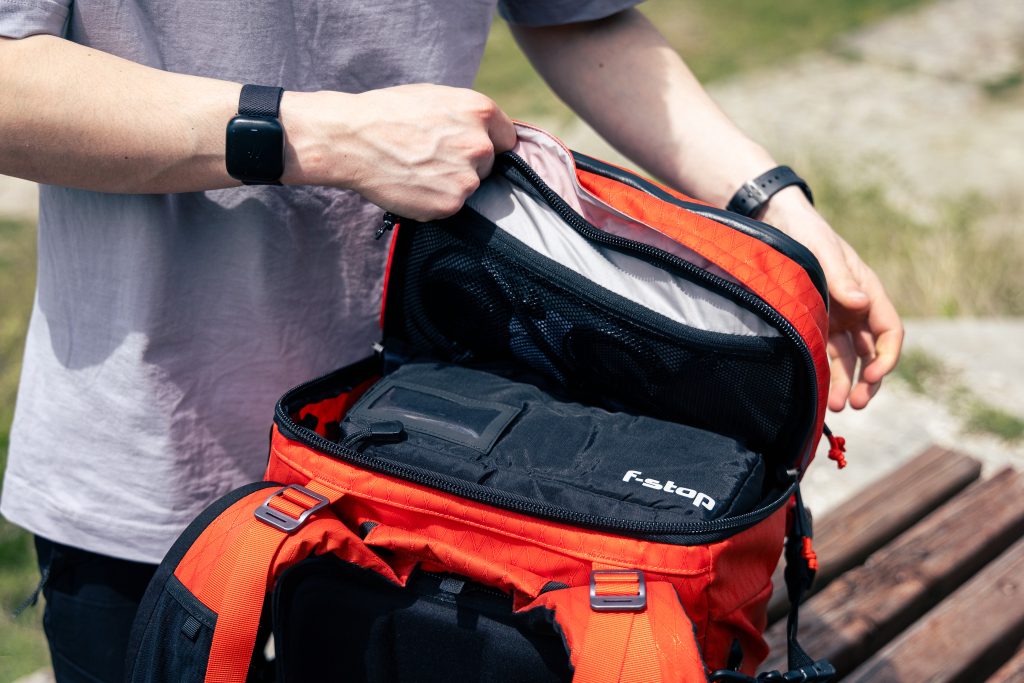
The front pocket! This is one of my favorite parts of the Tilopa because it allows me to store my batteries in a very efficient way, especially the V-mounts. It's deep enough that I can store two of them stacked sideways, effectively fitting almost double the number of batteries in this space. At home, I might even have up to eight V-mounts neatly packed in this top section.
Connect with Nick . https://www.instagram.com/beyondnick/
f-stop Ambassador Alexandre Gendron visited us in Portugal during our Pro Hangout. While he was with us, he walked us through his travel setup, using his AJNA 37L DuraDiamond®. Read more below about the tips and tricks that make his life as a working professional easier!
"When it comes to packing and organizing for any photo shoot, whether it is real estate, adventure, or travel photography, I believe in thorough preparation and attention to detail. Firstly, I have my checklists for all the necessary equipment, depending on what I will be shooting. This ensures I have my key equipment, such as camera body, lenses, tripod, spare batteries, memory cards, and any other specific gear required for the shoot.
I prioritize lightweight and versatile gear for adventure and travel photography that can withstand various weather conditions and rugged environments. In terms of physical organization, I use my f-stop AJNA for shorter trips, or my Tilopa for longer journeys with the Medium Slope - Camera Insert to safely store and transport my gear. This ensures everything is easily accessible and protected from any potential damage." - Alex Gendron

To organize and prep for a shoot, I have three top tips and tricks that could enhance your travel experience.
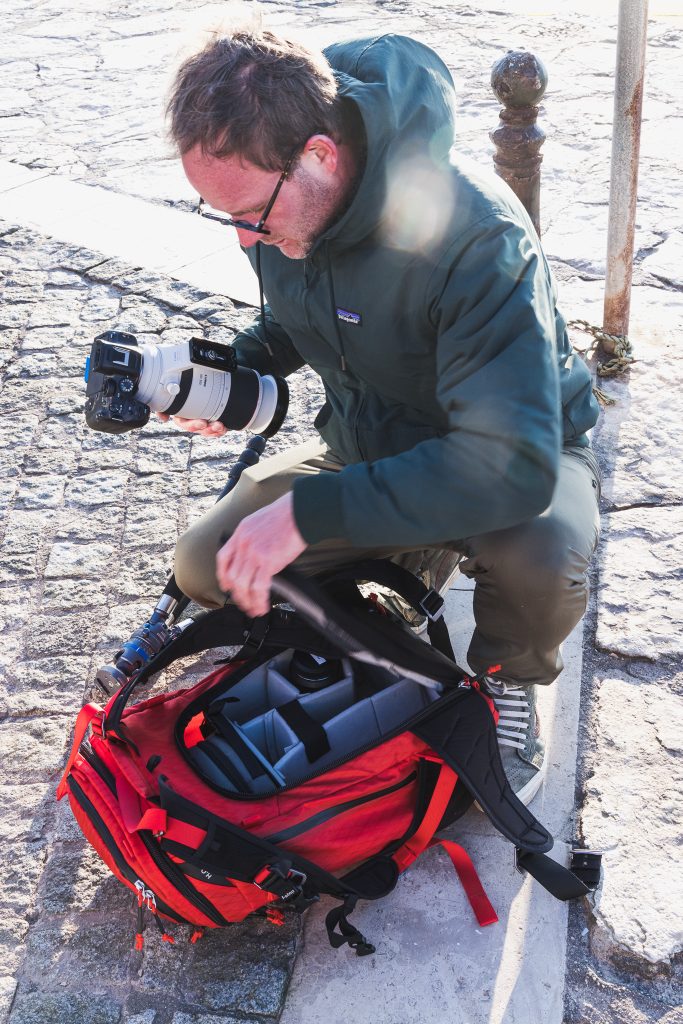
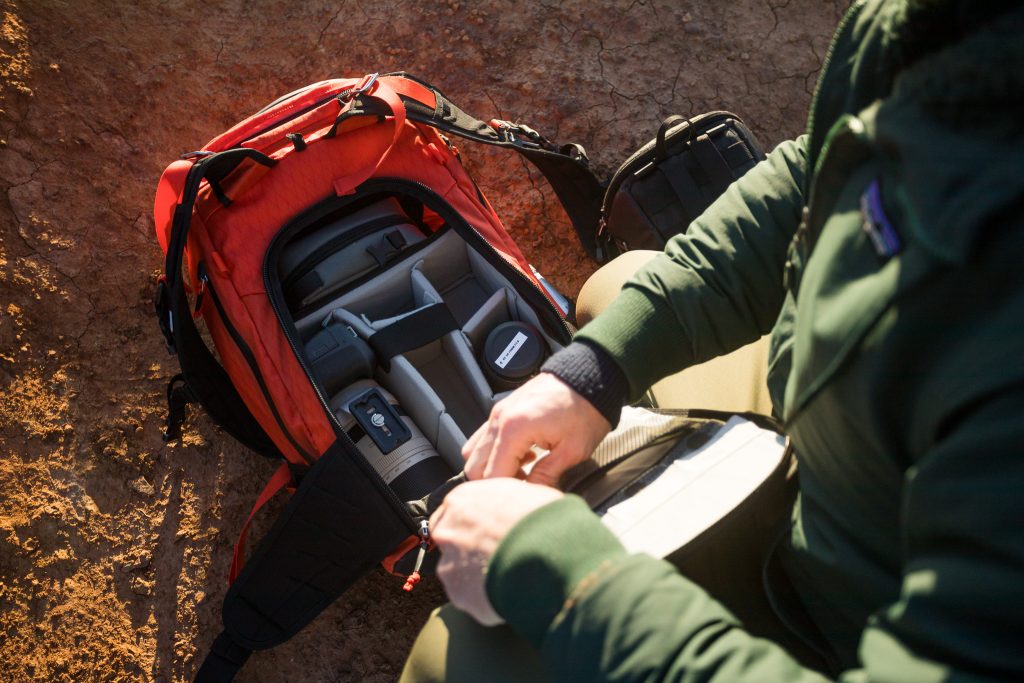

Alex's equipment consists of the Ajna 37 L DuraDiamond® (Magma Red) along with the Medium Slope Camera Insert.
He shoots with the Canon EOS R5 and R7 bodies, the Canon RF 15-35mm f2.8, Canon RF 24-70mm f2.8, Canon RF 100mm macro f2.8 and the Canon RF 100-500mm f4.5-7.1 lenses.
The additional gear he carries when needed includes his Binoculars for wildlife (vortex 10x42), a Drone (DJI Air 2s and DJI Air 3), and a tripod which is attached to the outside of the pack. For overnight trips, he uses an insulated mattress (thermarest Neoair Xtherm) and a sleeping bag. In our video, Alex has brought his travel kit, consisting of the Canon EOS R5 with the Canon RF 24-70mm and the Canon RF 15-35mm.
He uses the f-stop Filter Case with his K&F Filter kit ( ND and Graduated ND filters) and sees his Navin Pouch DuraDiamond® as a must-have for hiking.
Alex also uses the Tilopa 50L and occasionally the Sukha 70L along with his Pro Large Camera Insert. His main setup is the Pro Small Camera Insert or the Medium Slope - Camera Insert paired with either his Ajna 37L or his Tilopa 50L backpacks.
As a professional photographer for more than ten years, Alexandre has a taste for adventure and the great outdoors. In 2013, he left Paris for Australia, where he honed his skills as a photographer.
Seeking new challenges and adventure, he returned to Europe in 2016 by bicycle. He cycled 14000 km and travelled a further 8000 km, mostly on sailing boats, hitch-hiking from marinas and boat yards, to Vietnam where he ended his bike trip and trained to become a yoga teacher. He then travelled through France, Italy and Switzerland by van, before returning home.
He now teaches photography and explores the natural spaces of the Annecy region. His work has a refined style that often emanates a mystical ambience.

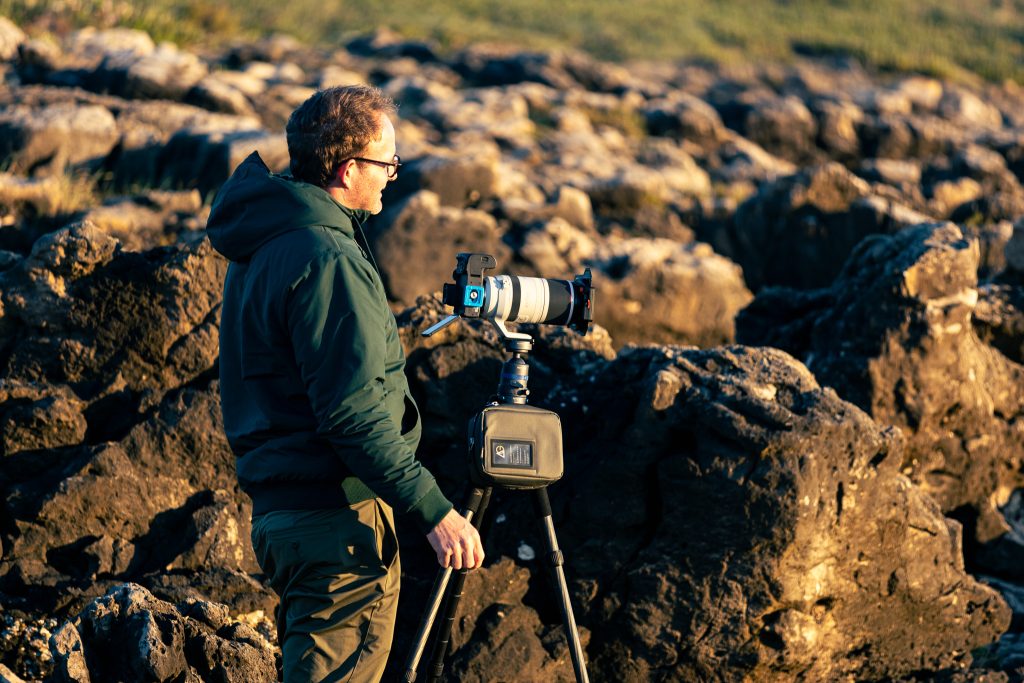


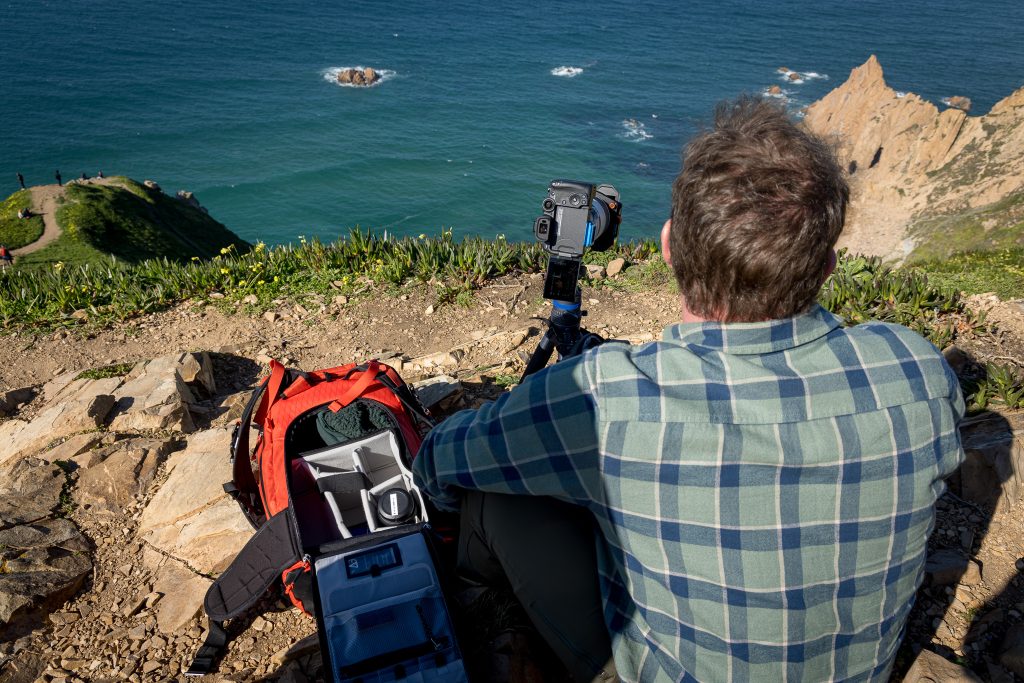


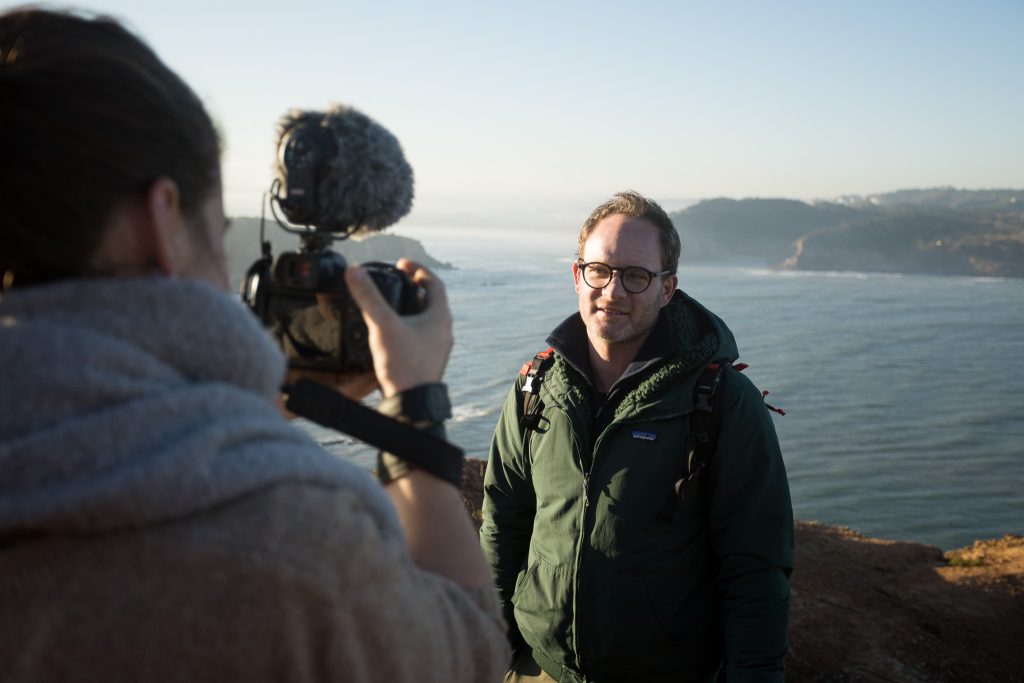

Everything is constantly moving and changing. When you are always transitioning from one assignment to the next, life can be hectic. Saving space, distributing weight, and planning ahead for a day in the field are all essential considerations when you are on the go. Join us as our Ambassadors share tips and tricks they have learned over years of traveling, with Life on the Dāsh.


We were delighted to hear that our Pathfinder Ambassador and Astrophotography specialist, Monika Deviat won the Aurorae Category of Astronomy Photographer of the Year with her image "Brushstroke". She was also then featured in a mini documentary by the Royal Museums Greenwich, which explores her experiences and highlights her creative process, perfectly showcasing her talents behind the camera with her favourite backpack: the Tilopa 50L DuraDiamond®.
Monika loves astrophotography as well as night photography in general and shares her passion with others through workshops. But there is more than meets the eye to the Alberta-based photographer. She is a metalhead, pole and aerial instructor, educator, and speaker, which are all personified in her work.
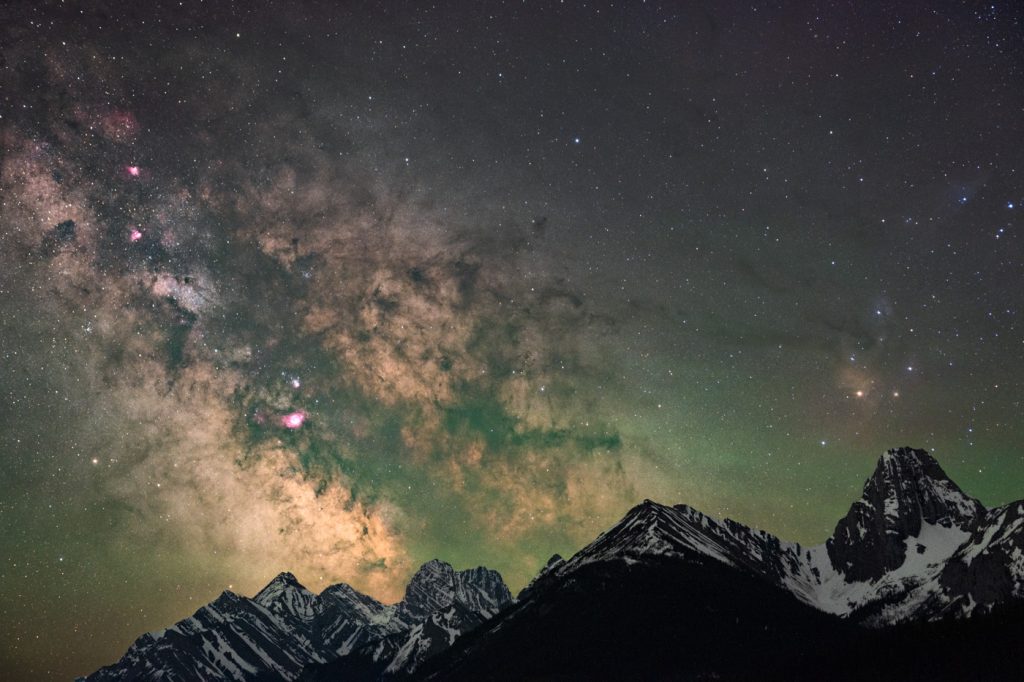
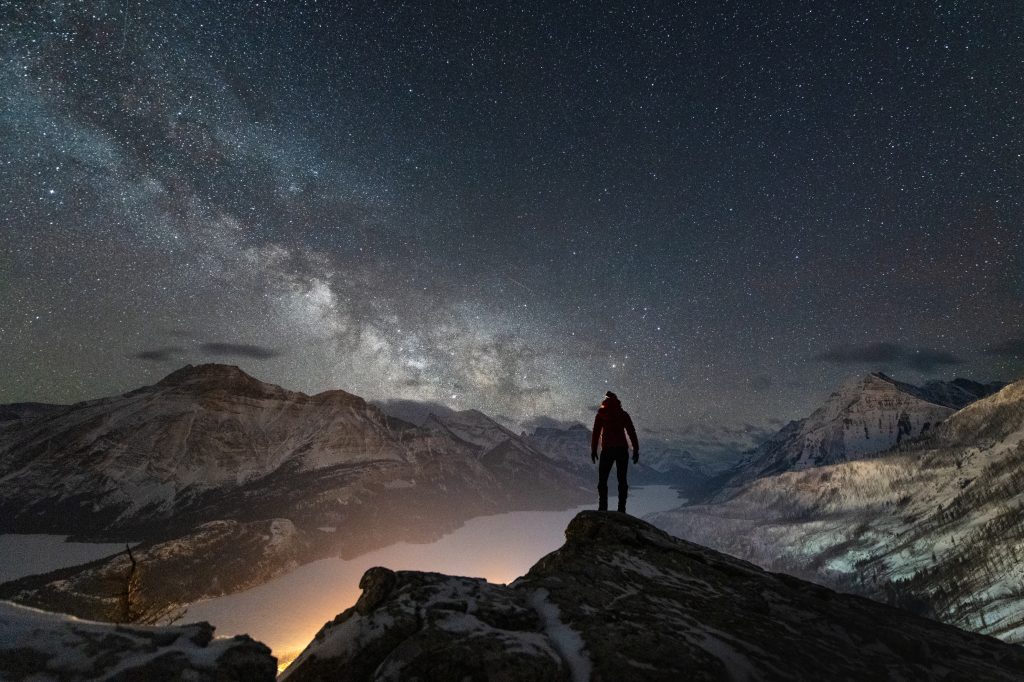
The quality of Monika’s work speaks for itself. Her level of experience is evident in every frame she captures, which is why she is the perfect person to give you essential tips on shooting the Northern Lights:
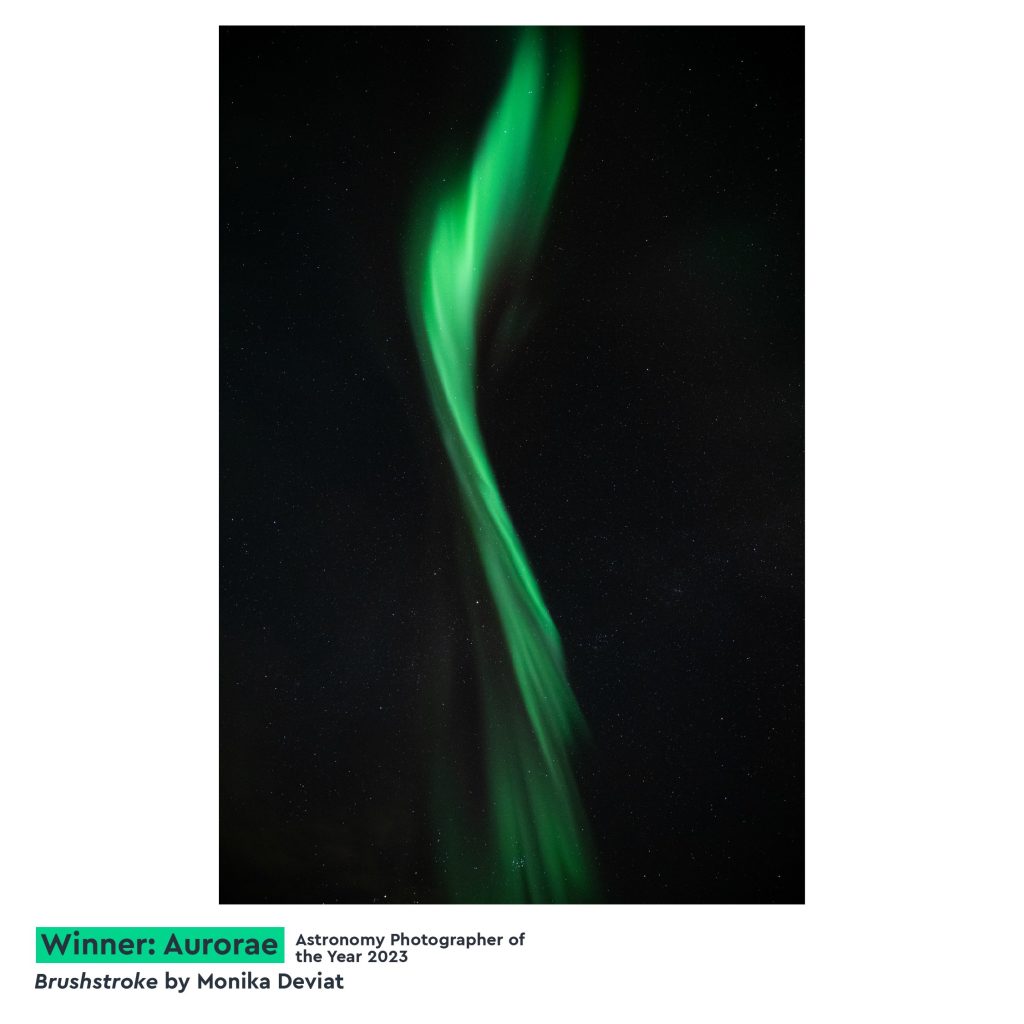
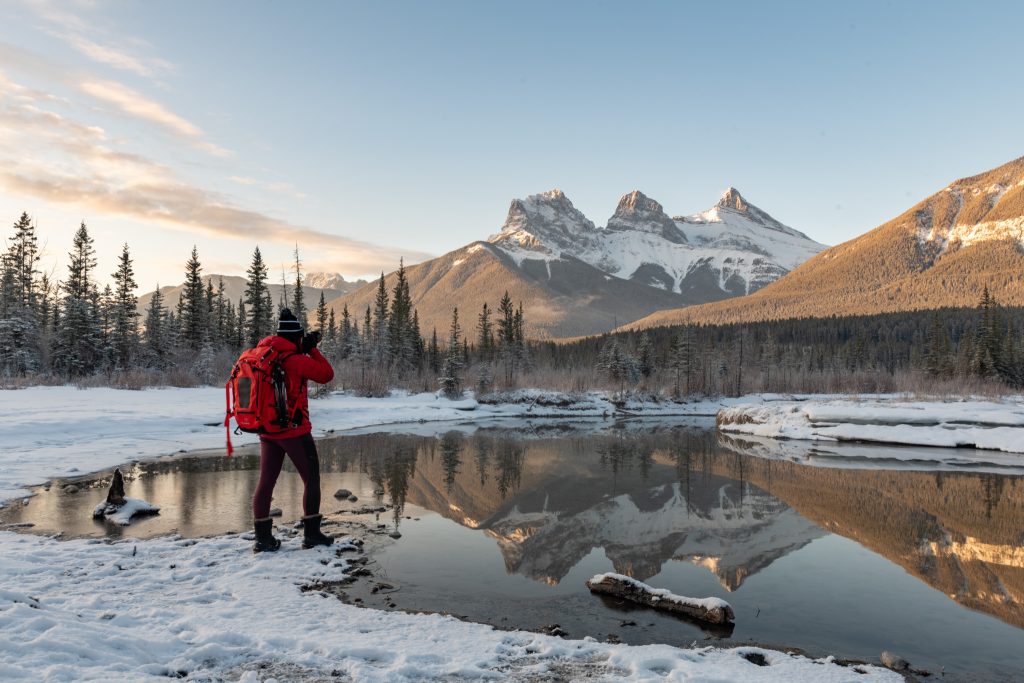
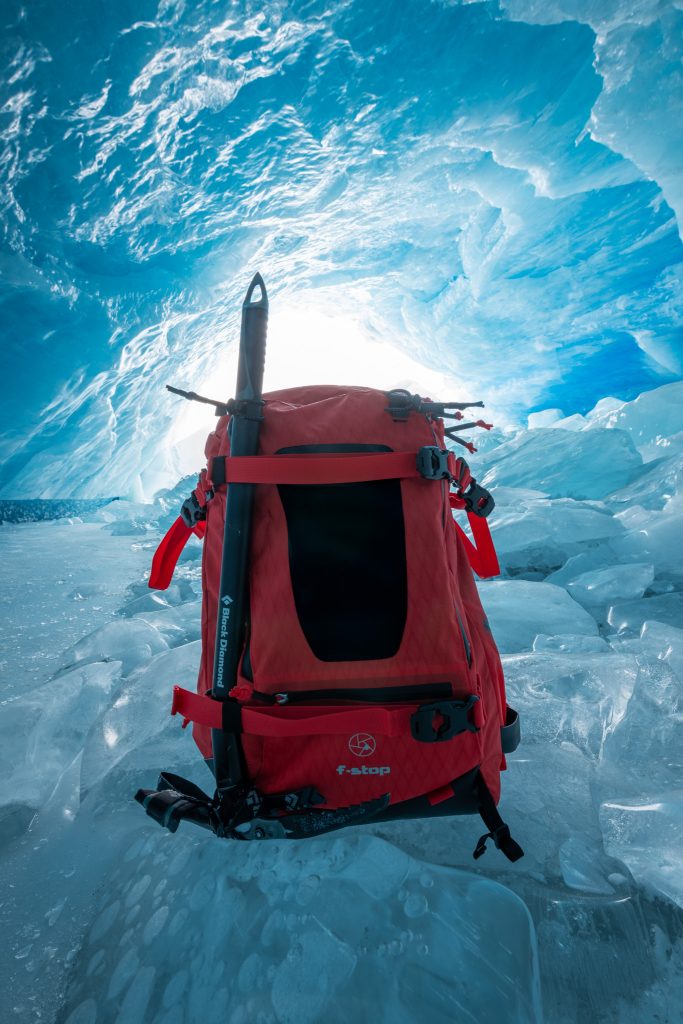
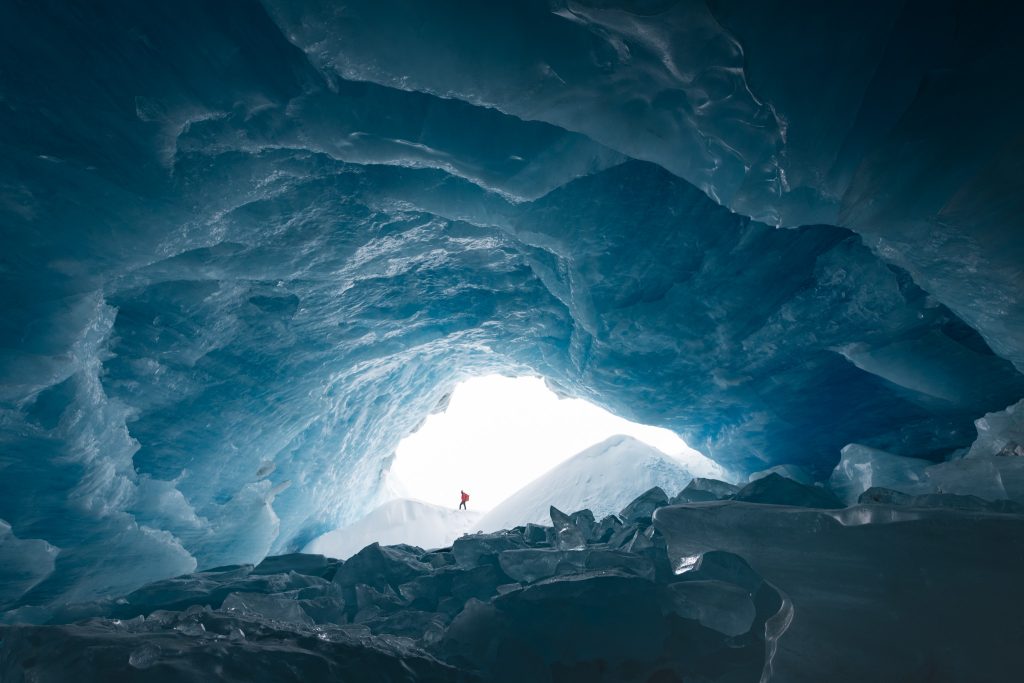
f-stop Ambassador and Astrophotography specialist, Monika, states that her two go-to backpacks are her Tilopa 50L DuraDiamond® in the Magma Red color option and her Ajna 37L DuraDiamond® in Anthracite Black. Her Tilopa travels with her for most adventures, including visiting ice caves in glaciers in the Canadian Rockies, hauling night photography gear up mountains and road trips to badlands. The Ajna is usually her travel pack pick when she needs to stay agile or deal with space restrictions on vehicles or with groups, but does occasionally go on mountaineering trips with her.
For more adventurous trips, Monika uses the Medium Slope Camera Insert to keep her kit safe and organized. This still gives her enough space for a camera body or two, two or three lenses and leaves room to add things like Avalanche Gear, cookies (Essential!), water bottle, thermos, extra Layers, first aid kit, and various small accessories. Her crampons/micro spikes, ice axe and tripod attach securely to the outside of her pack using the Gatekeeper Straps and the other various attachment points.
Monika uses her Pro Large Camera Insert for photo-focused trips that need less adventure gear. For an "easy" night hike up a mountain, Monika will take two bodies, three lenses, two tripods, a star tracker, extra layers, water, thermos, snacks, a first aid kit, and camera accessories.
Competition: https://www.rmg.co.uk/whats-on/astronomy-photographer-year
Website: https://monikadeviatphotography.com/
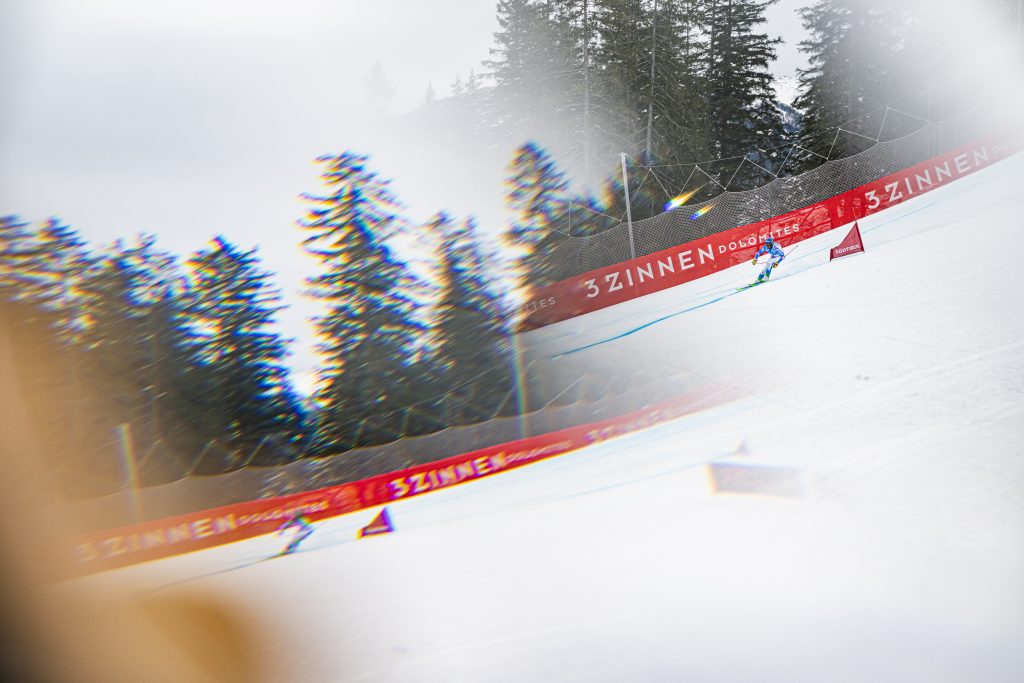
In outdoor sports photography, being prepared is not just about skill, creativity and having the right gear. It's also as much about your level of organization and how you pack. Join us as we explore the world of Pro Photographer and f-stop Ambassador Frien Harald Wisthaler, as he navigates the demanding and exhilarating world of the Ski-Cross World Cup in Ineichen.
Nestled in the Dolomites, Harald's home in Italy (South Tyrol) offers the perfect canvas for his 15-year photographic journey. His latest challenge? Only capturing the high-speed action and raw emotion at the Ski-Cross World Cup.
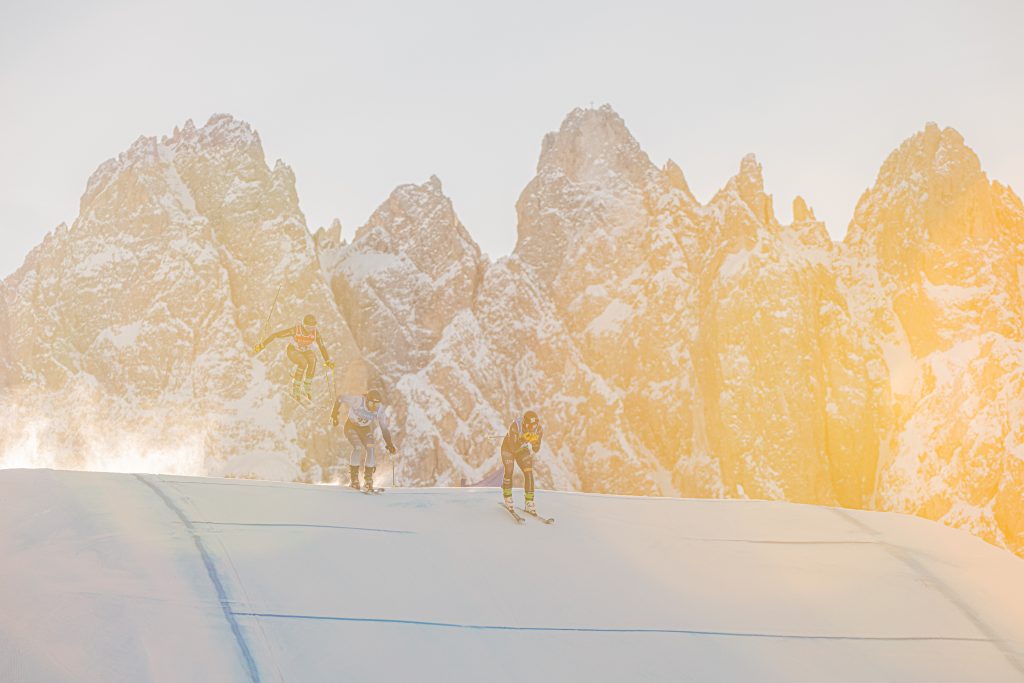
The Gear:
The toolkit at Harald's disposal is as diverse as the sport itself. With his Mirrorless Nikon camera bodies, his range of lenses from wide-angle to super telephoto lens sets, alongside protective gear and outdoor wear, he geared up for a vast range of shooting situations. But it's not just about having the right gear; it's about knowing how to pack it. Harald emphasizes the importance of being consistently organized, but also flexible, often changing the equipment he packs based on the day's conditions and location scouting insights.
Proper Preparation: Harald told us that his number 1 tip is to not only make yourself familiar with your camera and lenses but also get to know the features of your bags. Look at all pockets and ask yourself why these are there and for what scenario you can use them for yourself! Make the gear yours and really get to know the equipment you're working with. This will help you work smarter and faster in almost every aspect when you're in the field and will make dealing with issues and obstacles a breeze.
OV German - Turn on the Captions for English translation
In the fast-paced world of sports photography, being prepared and flexible is just as important as having a keen eye for the shot. At the Ski-Cross World-cup, Harald faces unique challenges. His Office is situated just next to the ski slope, which for him has its pros and cons: He is always right in the middle of everything, no matter what.
To shoot an event like this effectively, you must always be ready to go, constantly aware of the schedules and factoring in the time you need to get up and down the slopes; and of course, adjust to the weather. When the race starts, everything is finished in 50 minutes. Choosing the right spot to bed in is crucial. Getting the shots you need requires strategic planning and sometimes a bit of luck. You need to be aware that moving positions during races is often not feasible and you cannot cross the race areas, so choose your position based on your goals.
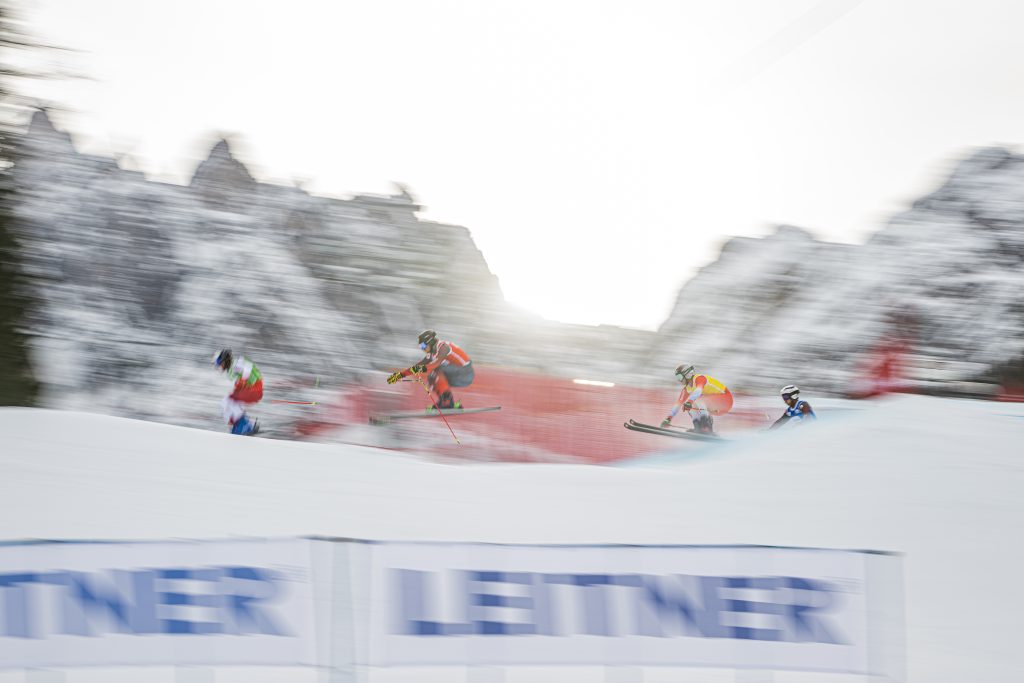
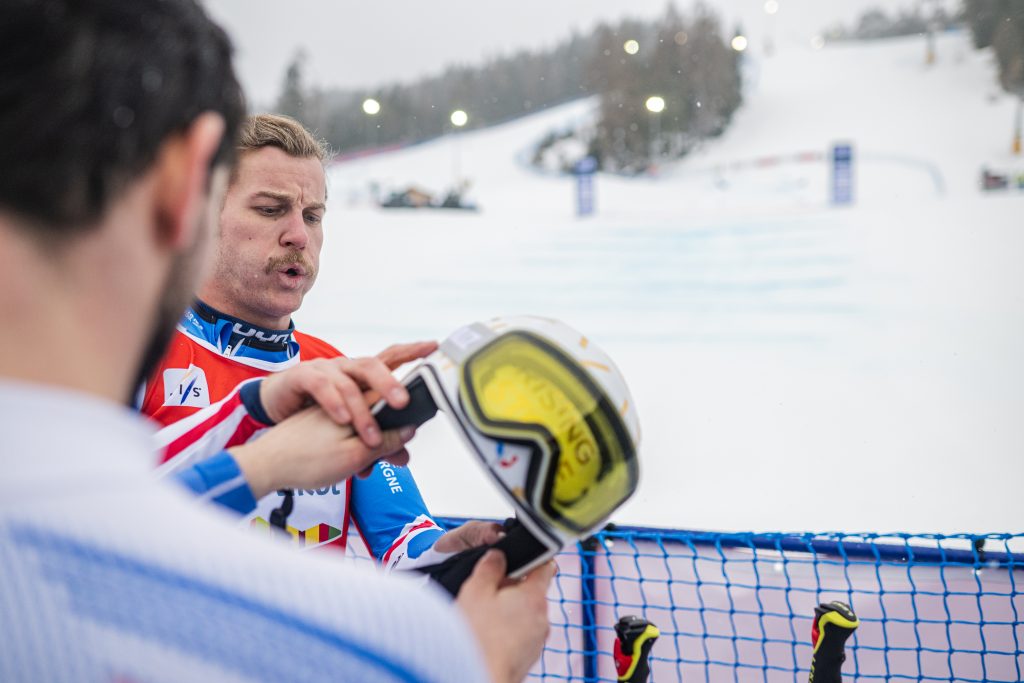
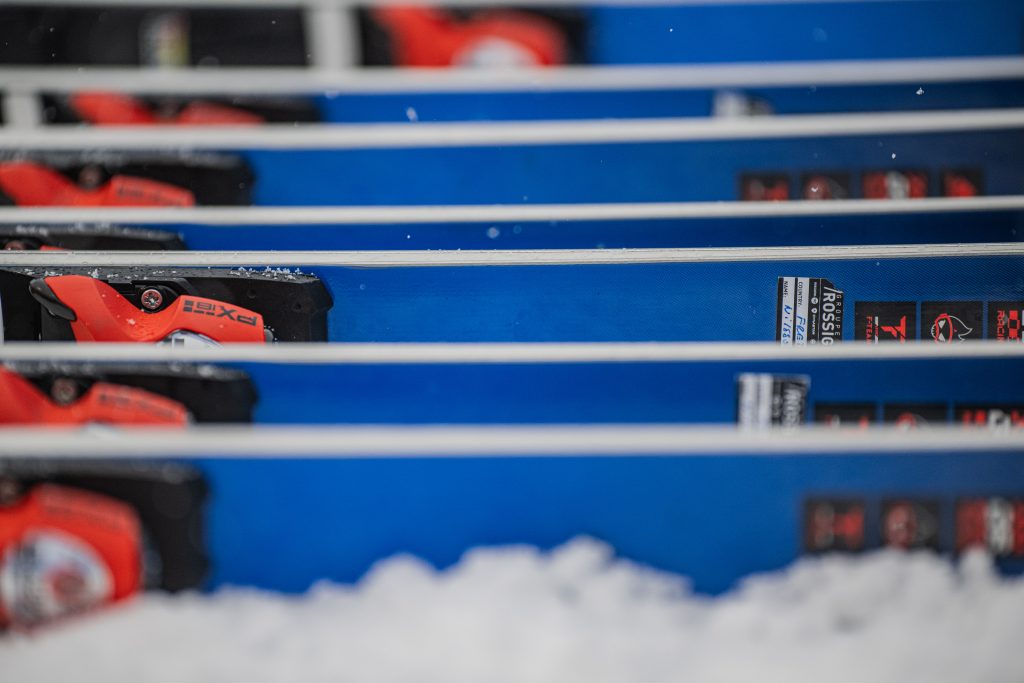
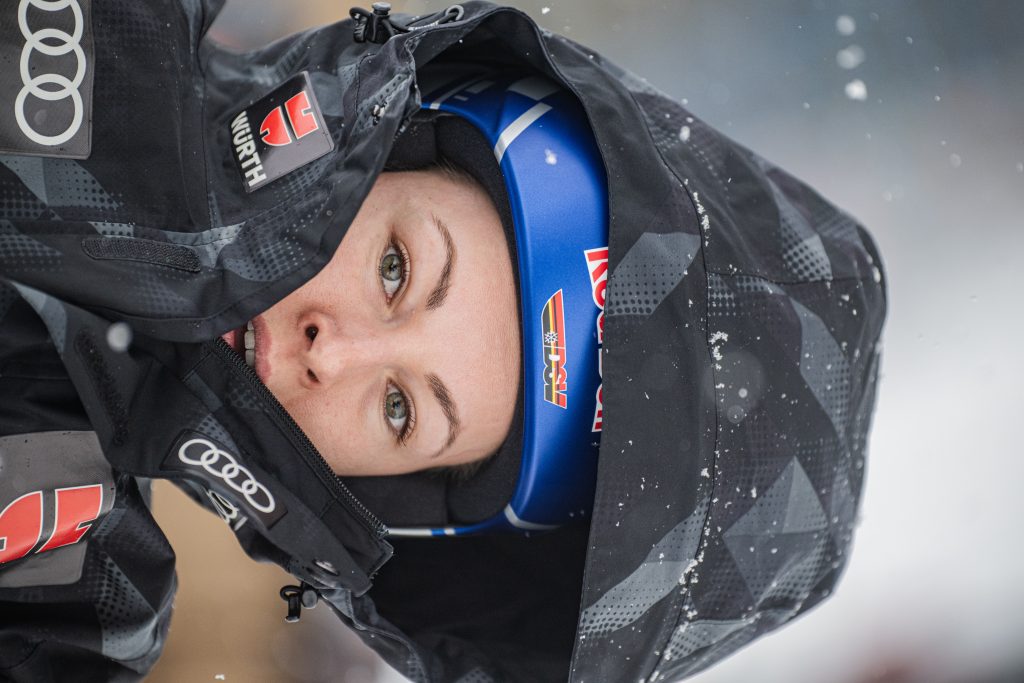
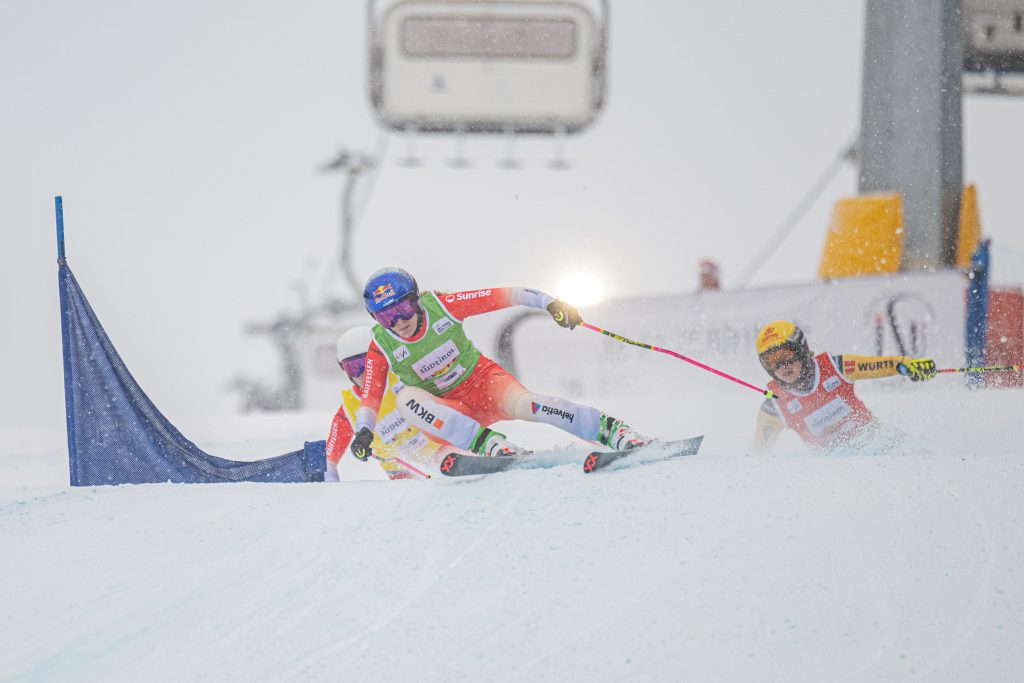
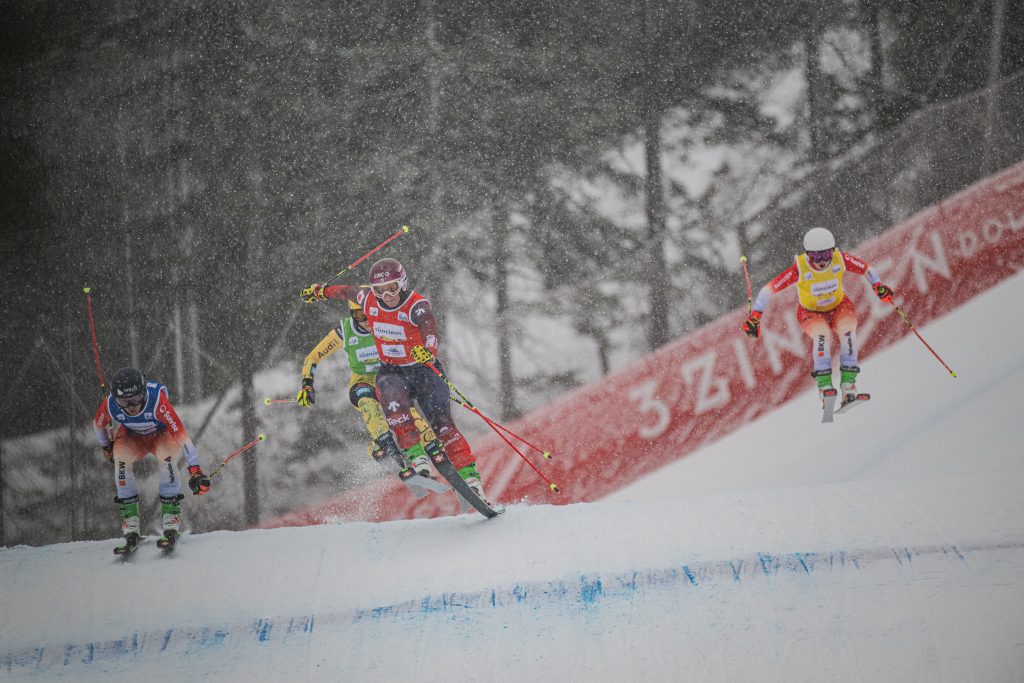
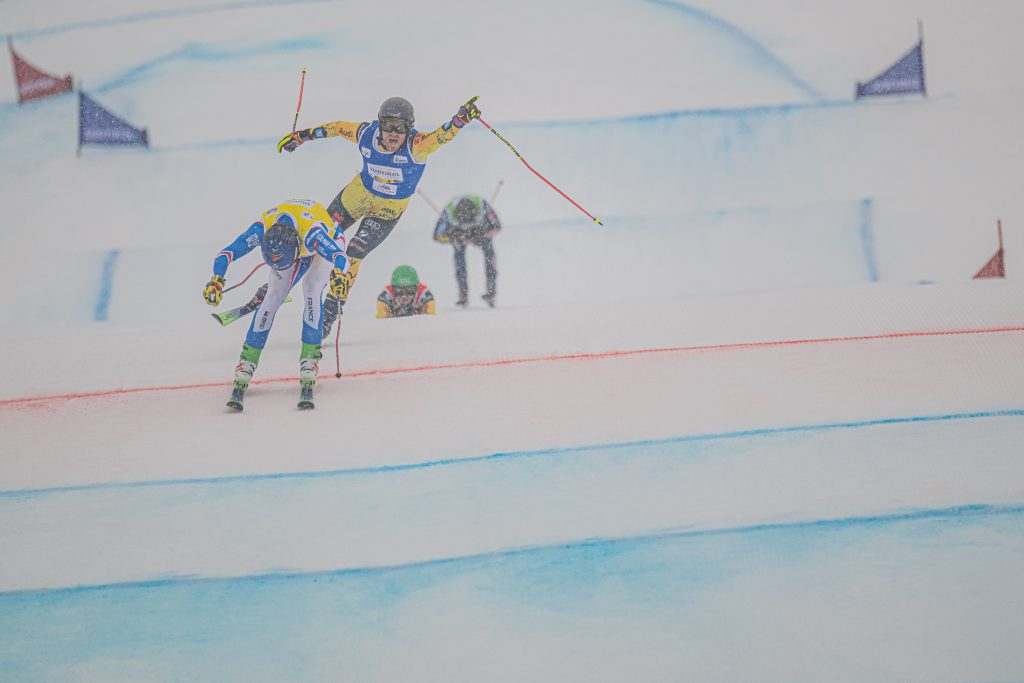
Harald's passion for photography stems from far more than simply clicking the shutter. The journey to each shoot is just as important to him. Whether it's World Cup events or serene mountain vistas, Harald knows that each adventure starts with a well-packed bag. Harald swears by his f-stop Tilopa DuraDiamond® 50l pack, a reliable companion on all his escapades.
The key, he says, is consistency and preparedness. He packs the same way every time depending on the situation, ensuring he can find everything in a flash - be it his trusty 50mm lens or a crucial first aid kit. By keeping his pack consistently organized, ensuring he can quickly grab the right lens for the shot without a second thought. His advice? Keep your setup routine and familiar, so you're always ready, regardless of the conditions or the rush.
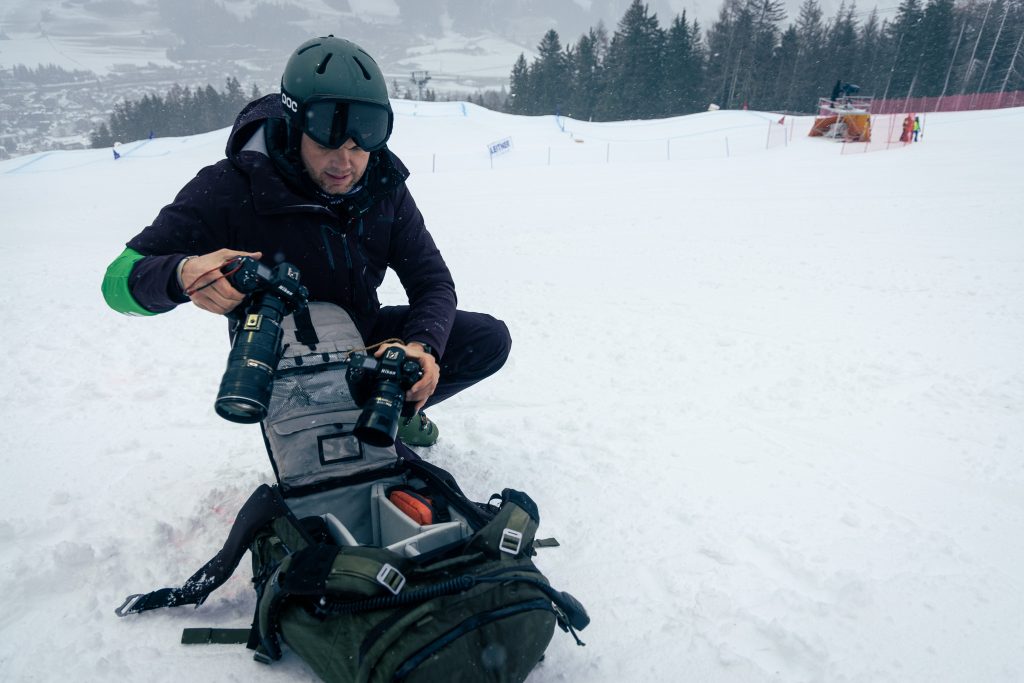
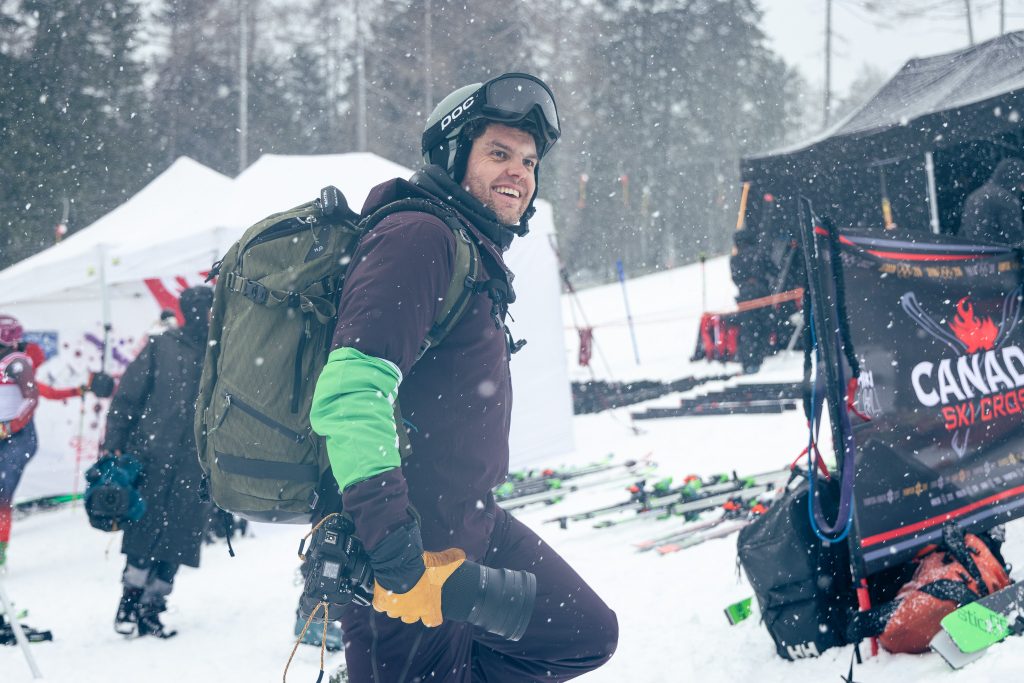
A Strategy for Every Shoot: Whether travelling by car or tackling unpredictable terrain on foot, Harald appreciates the versatility of his f-stop Camera Inserts. They allow him to switch lenses, gear and setups quickly, adapting to changing scenes and moments. This flexibility is crucial, especially when pre-event scouting isn't an option. He usually brings a second Camera Insert with him in the car filled with potential other lenses he might need. Depending on what the location offers, he has the option to adapt and get the best outcomes.
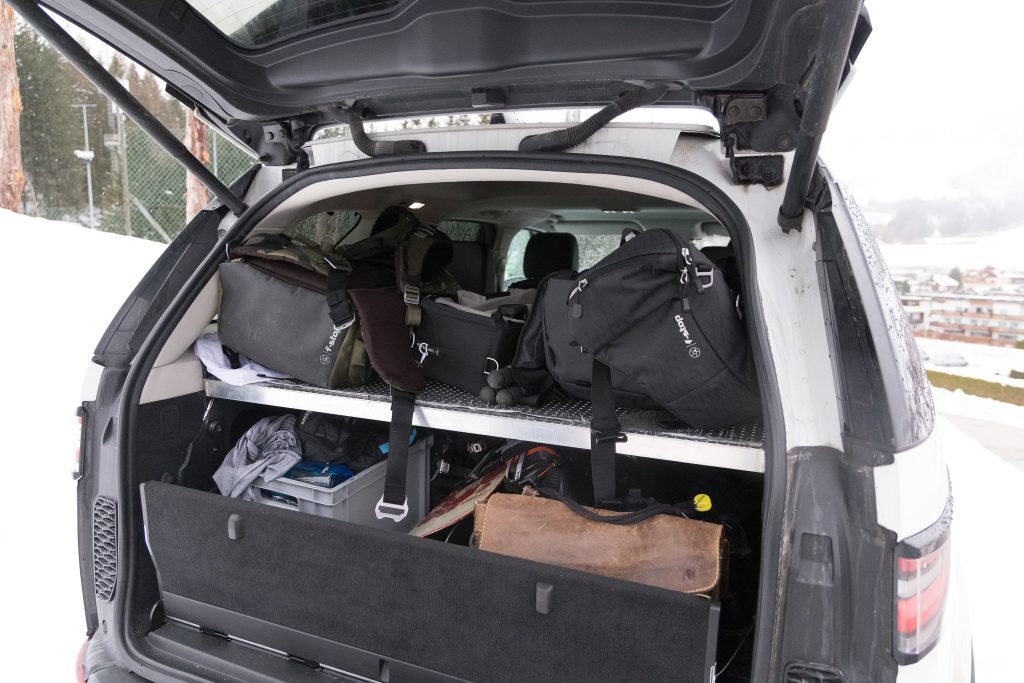
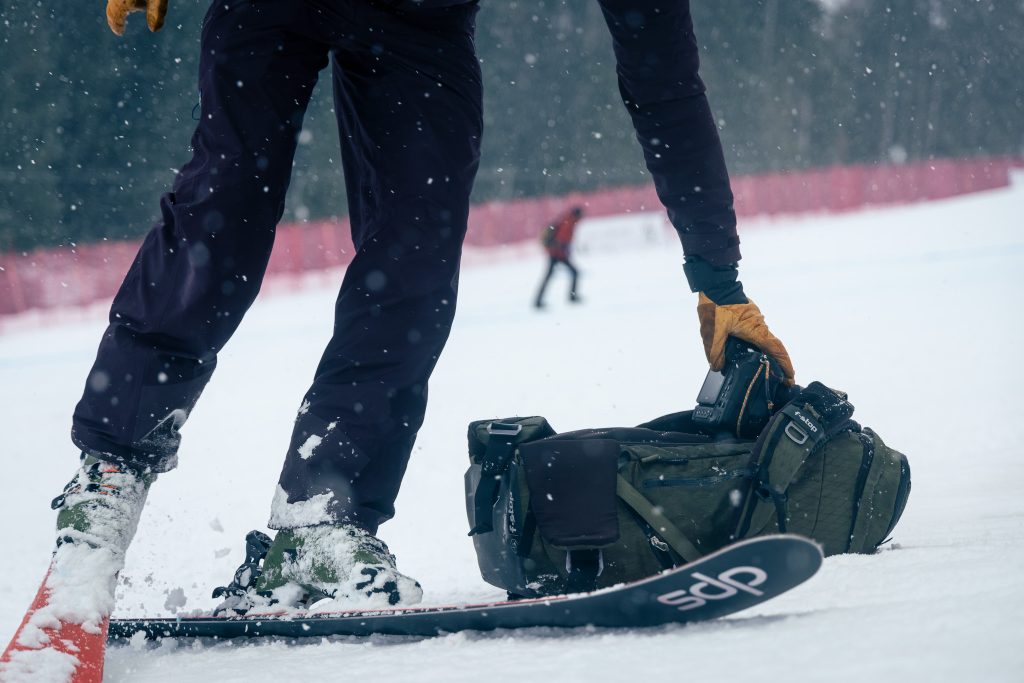
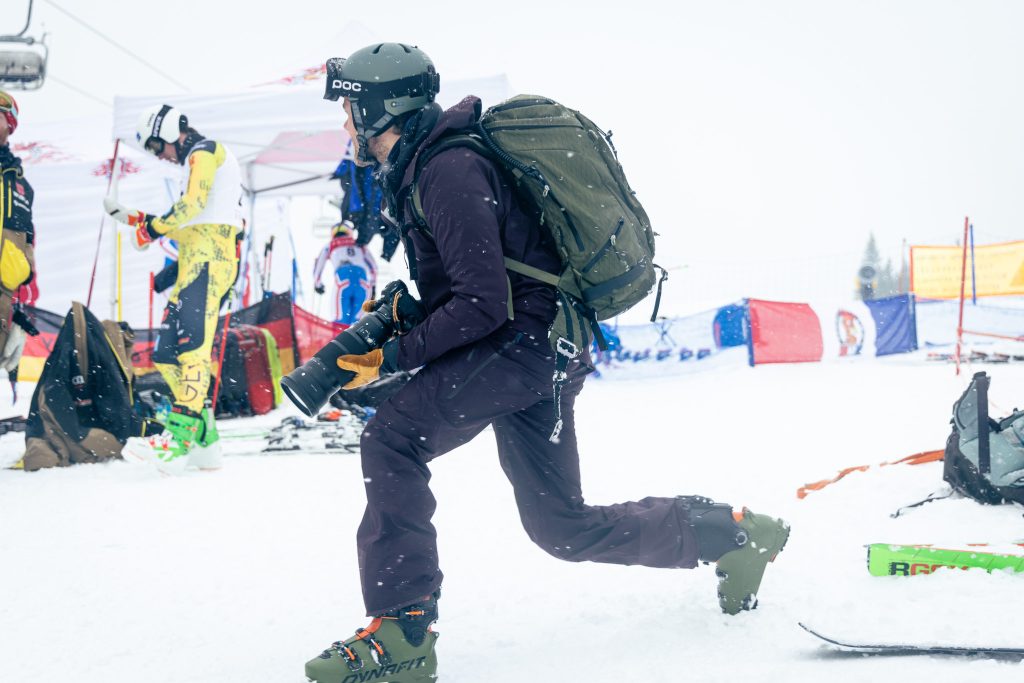
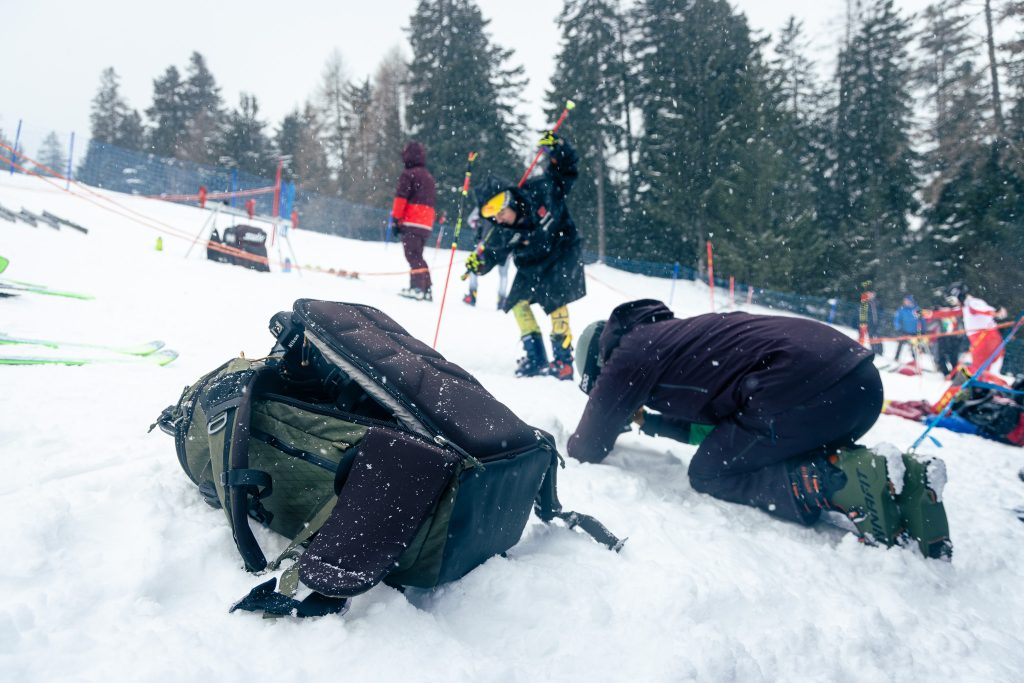
Harald utilizes a variety of equipment when he is out in the field. On this shoot he brought following gear with him:
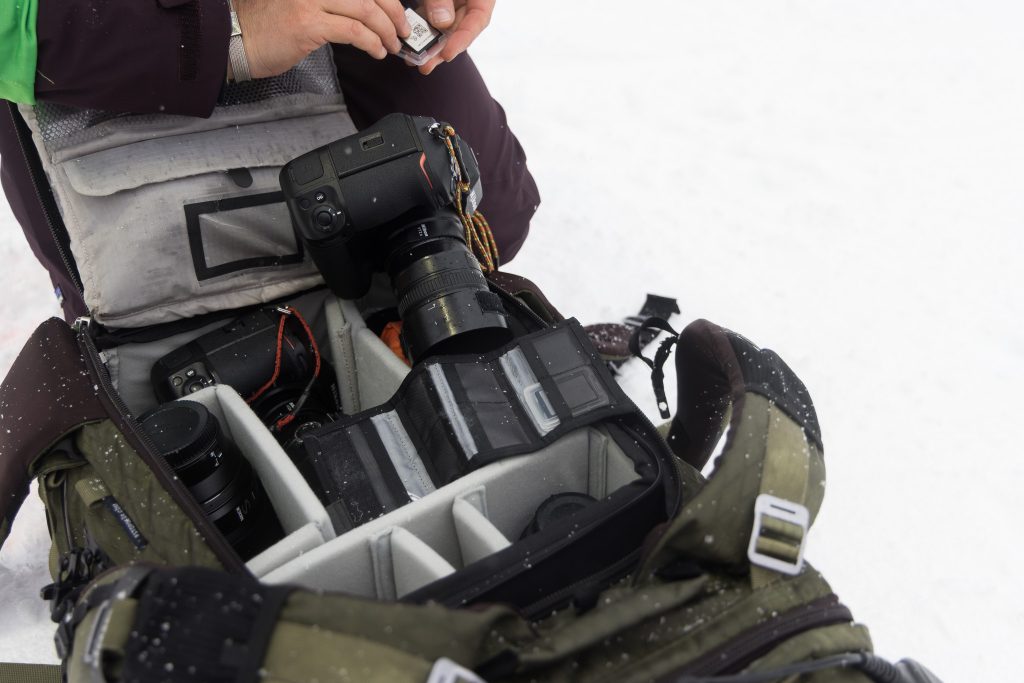
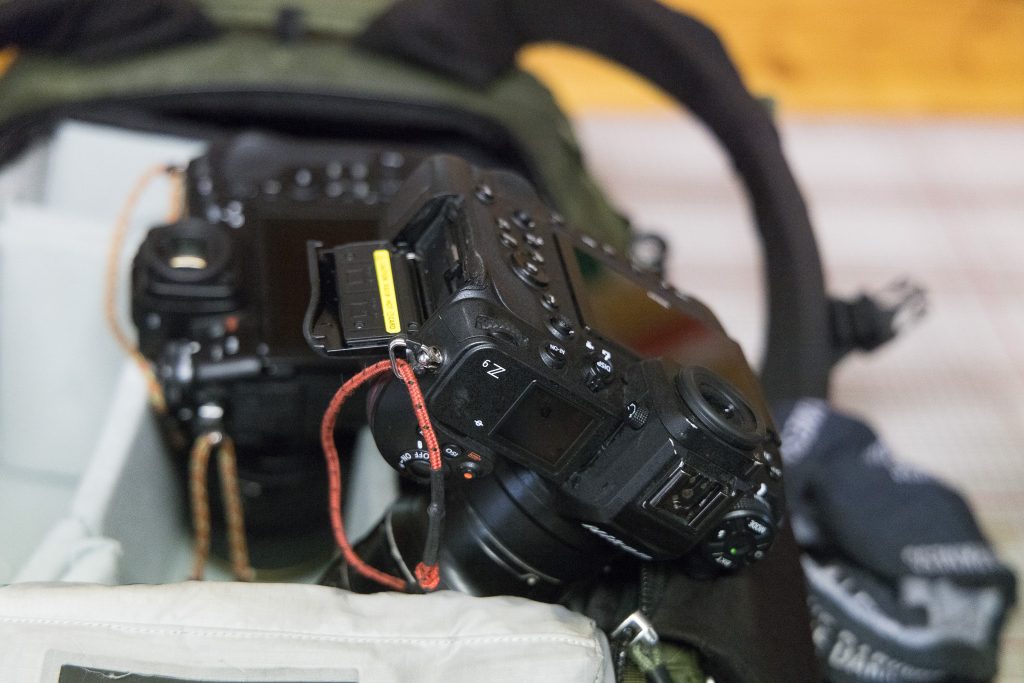
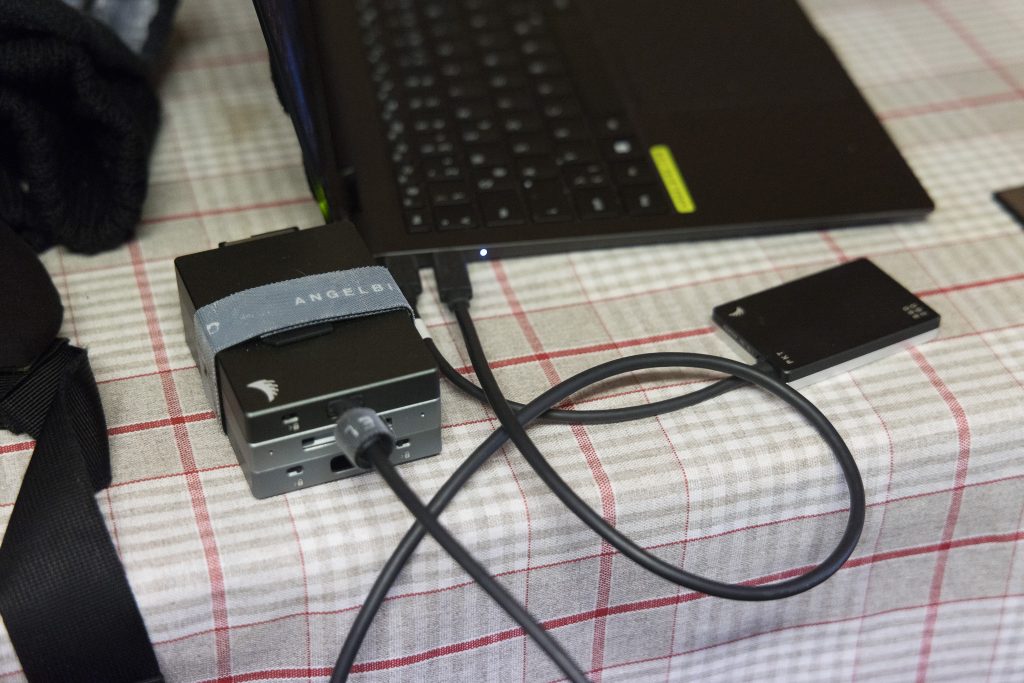
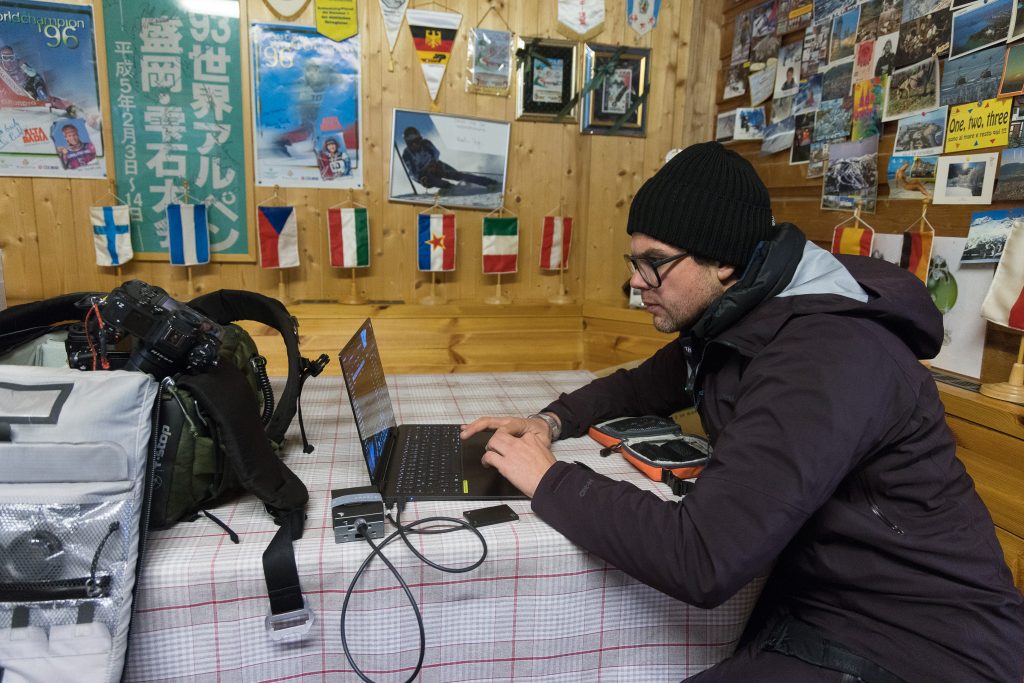
Learned Wisdom: The devil is in the details – or in this case, in the packing. Harald keeps his bag organized the same way regardless of the shoot, which makes adapting on the go a breeze. His approach is to make every slot and pocket useful to him! He also has a few more tricks up his sleeve. Also, he’s a firm believer in packing the little extras that you might not need. You never know when that ‘just in case’ item becomes a lifesaver.
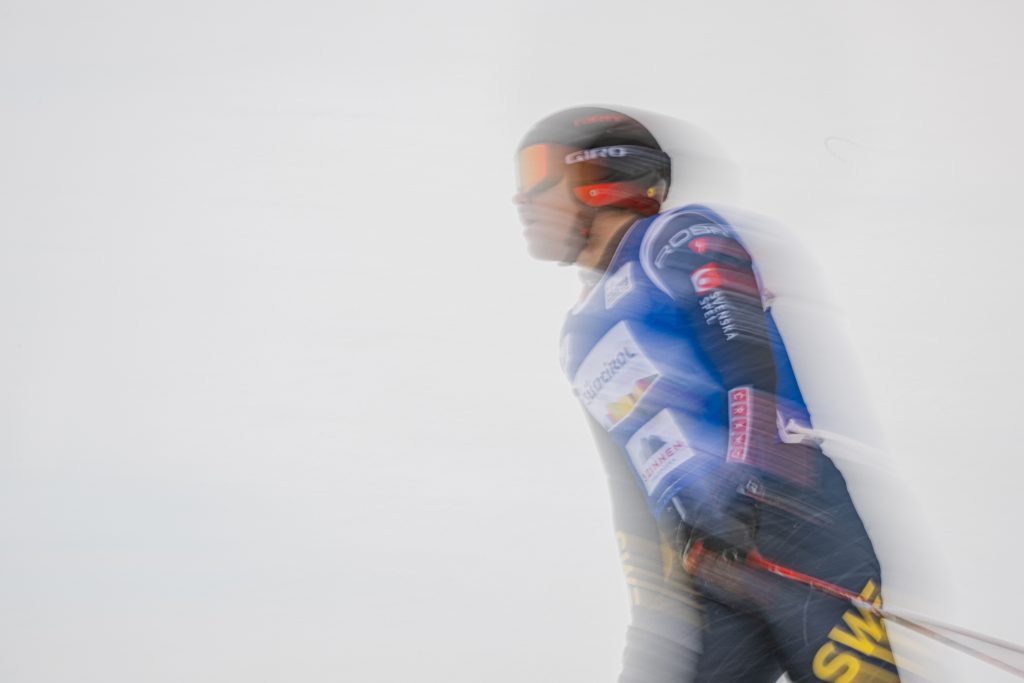
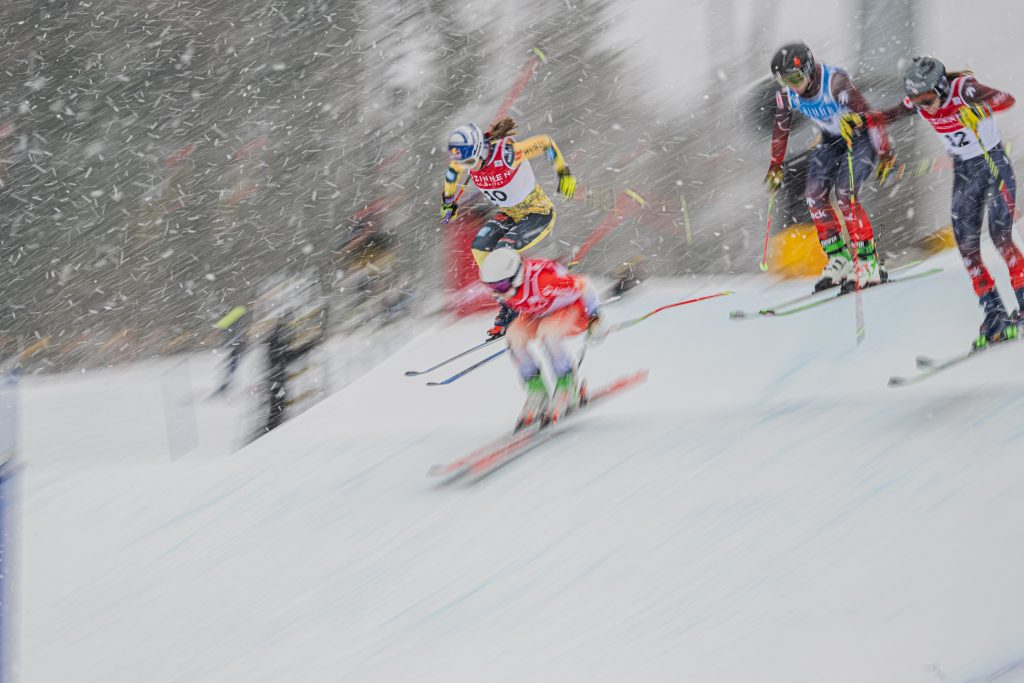
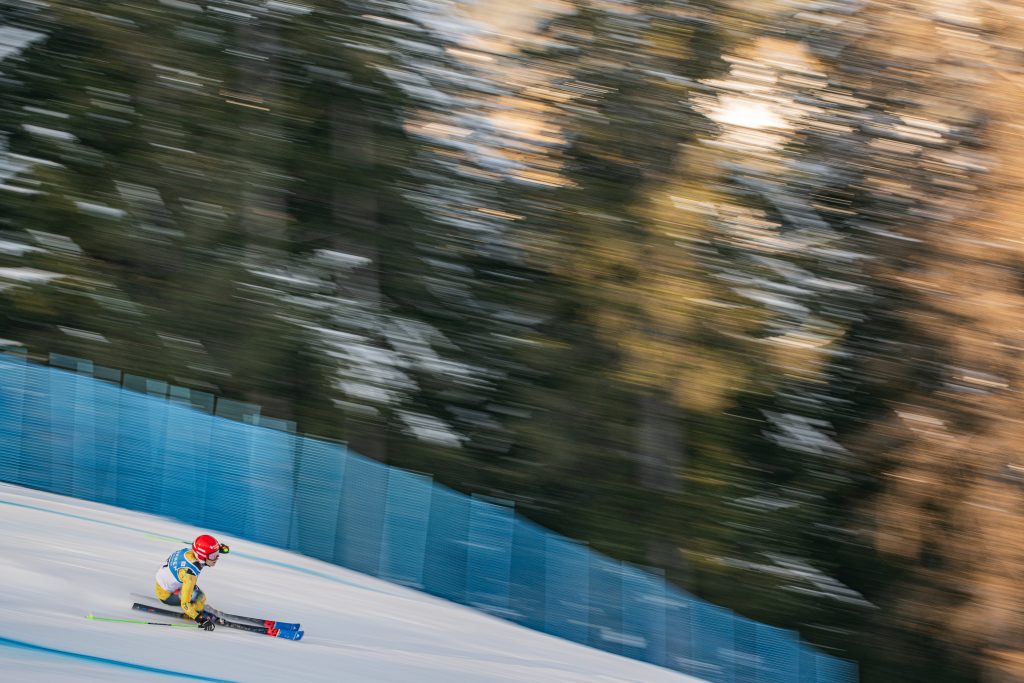
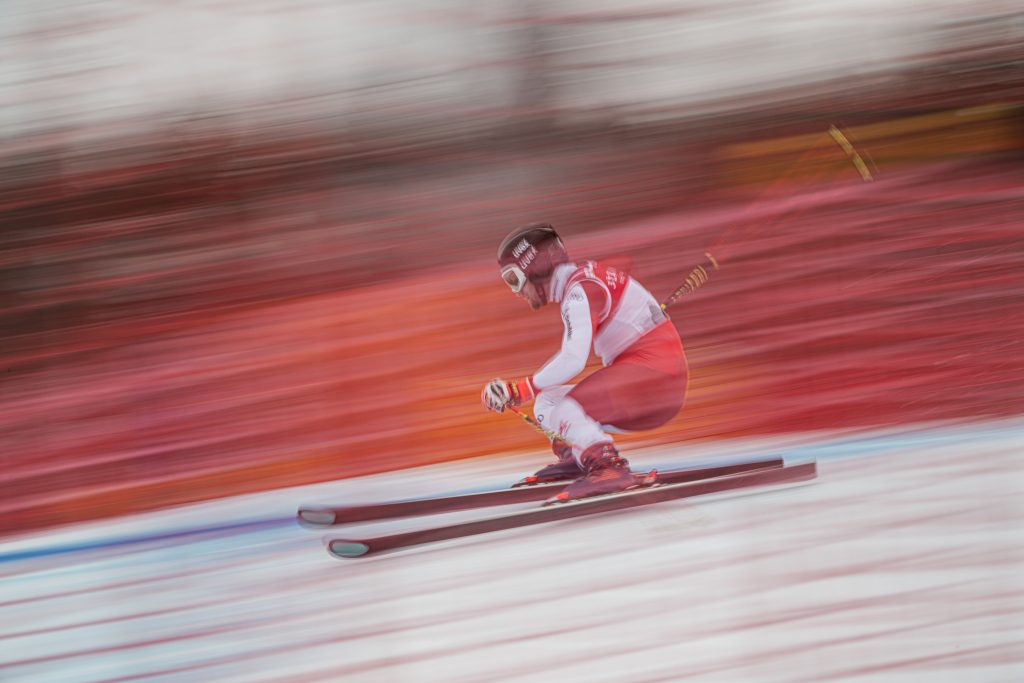
On the final day, the weather closed in. Ineichen offers a stunning mountainous backdrop, but with snow coming in, Harald had to adjust his approach. Instead of isolating individual participants with his telephoto lenses, he adapted to shooting on a wider field of view. He then incorporated long exposure to highlight the dumping of snow and the speed of the race. Finding a darker background and panning his camera with the subject helped Harald make the most of the situation and produce his usual exceptional standard of work.
Harald Wisthaler
Stay flexible, stay responsive, and prepared to adapt at a moment's notice.


How would you carry all of your camera gear plus a lot of camping gear? You might do what f-stop Ambassador Pia Steen does when she wants to pack camera gear and camping gear. She loads up her Shinn 80L DuraDiamond® with everything from cine setups to long lenses.
“If I sometimes just need that little extra space I have it and don't need to worry”
One of Pia’s passions is landscape photography which requires a lot of planning, time, and patience. Pia is often on multiple day tours and workshops. So she needs a pack with the capacity to carry EVERYTHING for several days, including clothing, a jacket, a sleeping bag, a camping stove, food, etc. Then, when planning short hikes away from camp and plan, Pia unpacks, reorganizes and just takes the essentials for that day’s hike.
Nature has always been an important and big part of her life. Pia has used f-stop for over a decade and uses multiple Packs - each one for a different purpose! However, the Shinn is a pack she regularly chooses over her Tilopa 50L DuraDiamond® for trips or excursions. .

One of Pia's mottos to get the best light is "Better to be two hours too early than just two minutes late". She has been using f-stop for more than 10 years now and her newest addition is the Shinn 80L DuraDiamond®
Today, she brings all with her that she would need to wait for the perfect light. She pulls out her stove and boils water to make some tea while watching the day’s light develop.


“The emotionality of every moment is like a breath of life. Creating a memory from that ephemeral is a gift.”
The Shinn 80L DuraDiamond® might be designed to accommodate cinema gear, but its biggest strength is its versatility, which Pia takes full advantage of. She utilizes the Shinn’s spacious capacity and all-day comfort on her multi-day hikes and workshops. "Better to be two hours too early, than just two minutes late" she laughs.
Often running multi-day tours and workshops, Pia needs a pack with the capacity to carry everything for several days. This often includes a change of clothing, a jacket, a sleeping bag, a camping stove, and food, all packed alongside her photography gear.


For her multi-day trips or Landscape Photography where she is expecting to carry more than usual, she is using the Shinn 80L Duradiamond® to give her enough space for a sleeping bag, sleeping pad, Bivy Tent, food, etc.
On this occasion she used the Shinn 80 L along with the Slope Medium Camera Insert which gives her additional room to fill with camping Gear from Stove, Gas, and cups in her Packing Cell Kit. Aside from this, she brought a small box of Cookies (or other snacks) Tripod ( attached to the front of the pack with Gatekeepers), Gloves, a Down Jacket, Memory Cards, a Card Reader, a Cleaning Kit, Batteries and an f-stop Accessory Pouch Small and Accessory Pouch Medium.


Whether you pack a Shinn 80L DuraDiamond® like Pia or a smaller Mountain Series backpack, you will find multiple attachment points across the entire Mountain Series range. One of the things that Pia loves about her Shinn and our other Mountain Series packs is the multiple attachment points, which can be used to carry and attach larger items such as sleeping bags and tents to the packs.


Join us as our Ambassadors share tips and tricks they have learned over years of traveling, with Life on the Dāsh, and check out how fellow Ambassadors get organized.
Dany is a professional photographer specializing in corporate, architecture, landscape & travel photography. He was born and raised in Lebanon, studied interior design and painting. Years ago he left his home country and became an expat, moving to different countries in the Middle East. Dany won a couple of awards and was chosen to be a judge for different photography competitions taking place in the Middle East. He conducts different workshops sharing his experience with those who like him started out as hobby photographers, might remain hobby photographers or follow their dream and take it to the next level.

I visited Namibia a couple of years ago, and I started dreaming about going back as soon as I returned! I wanted to spend more time and visit more locations in the vast and beautiful country. I had just two weeks to cover as many locations as possible, which presented a real challenge because the area I wanted to cover is vast. So, logistics planning was very important to make sure we had food, water, and fuel. Another reason I chose Namibia is this trip gave me an opportunity to explore the medium format camera as a Fuji ambassador. Additionally, I am beginning to prepare for a series of landscape photography workshops in Namibia.
We set out as a team of three on this adventure. Along with me came my friend Ayed Tadros, a corporate lawyer and a skilled hobby photographer who had never been on a long camping trip, so we thought he might enjoy this adventure. The third member of the team was Lena Oberhofer from f-stop who and documented the adventure.
Dany Eid 
With more than 4000 km, early mornings to catch the first light and also late nights (the sky is breath taking for Astro photography) we were always chasing after the best light. You don't want to miss any rare opportunity but at the same time you need to think about how long you'll be needing to drive to your next spot, when to prepare food, when and how to enter nationalparks, what logistical rules there are and much more.
One of the biggest challenges also came before the trip. In today’s world, international travel can be quite challenging. I live in Dubai. I’m a Lebanese passport holder, and Namibia required a visa. The nearest Namibian mission where I could apply for a visa is in Cairo, Egypt. I was lucky my wife was traveling to Cairo, and she took care of the visa process. The Namibian Embassy supported and guided us through the whole process. With the visa in hand, I had to look for the best flight connection from Dubai to Namibia. There are no direct flights, which wasn’t a surprise. In the end, we managed to book air travel with a few interesting connections, and then I had to turn my attention to travel within Namibia. I rented a Toyota 79 Series double cab that was fully equipped for an extensive overland trip, and that turned out to be a great find. The next challenge covering all the locations I wanted to photograph in the time we had for the adventure!
Aside from this a trip like this requires planning ahead and comes with plenty of unforseen challenges along with it. Working as a team is crucial to overcome thes and with three creatives in one car you can be sure these will be somehow solved. Often you find yourself racing to the spot you would like to get your photo of and position yourself before so when the light is right. Sometimes you just sit with your morning coffee and enjoy the moment and the amazing light and mood and just leave your camera aside for a little. What we all loved throughout the trip was our hot chocolate around the campfire at night and chat about life.

Dany Eid 
I enjoy being in remote areas, and what is better than an overlander / photographer driving through the beautiful nature of Namibia? Not much. Living in nature, off the beaten path, offered many subjects to photograph. And as, an added bonus, we escaped Dubai’s brutal summer heat and got to enjoy lovely winter in Namibia
Dany Eid 
Our first stop was Quiver Tree Forest which was an 850 km drive south from Windhoek, Namibia. The forest is a perfect place for night and Astro photography. The quiver trees covering the area are beautiful subjects, too. Some visitors call the area a big playground of trees. We spent our first camping night at the park of Quiver Tree Forest, and it was lovely.
We eat quite late since and stayed up long since the sky was amazing for Astro photography but our itinerary for the following day called for a 400 km drive to Lüderitz. The next morning the alarm went off very early to not miss the light and it was worth it with wonderfull morning light again! After some photoshooting we started packing up the car, had a quick coffee and we started of our journey.
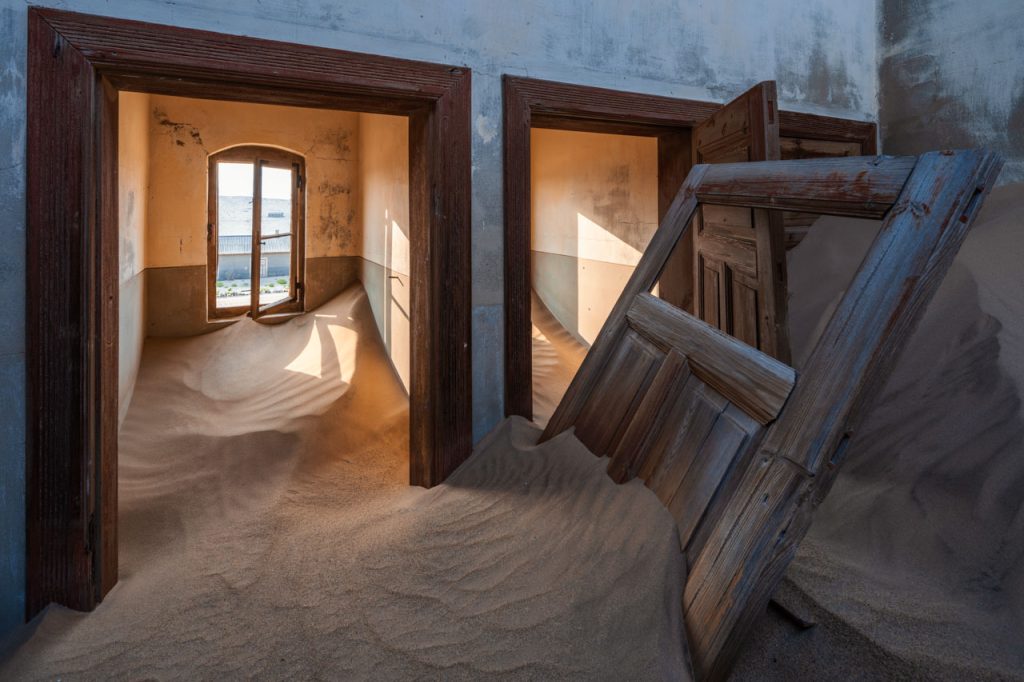
Spending almost all day in the car we decided to take a break and get tickets to the Ghost Village at Kolmanskop, another 400 km drive from Lüderitz. We managed to arrived early while it was still dark and caught some very exciting morning light!
Scouting in darkeness is not to underestimate and with so many different possibilities for a great composition this place offered we ended up in another amazing photography playground.
After getting some very good images and wonderful light conditions, we hit the road again to Sossusvlei at the Namib-Naukluft National Park - another 500 km drive from the Ghost Village at Kolmanskop.
Due to a late start we decided to take the Road D707 to save some time which turned out to be a great choice! The road offered some of the most beautiful landscape sceneries I have ever seen.
Aside from seeing more from the country these long trips in the car also had another big advantage that is quite important for a photographer or filmmaker.
With two weeks mostly camping without electricity we used the car rides (and an inverter) to recharge our Batteries and equipment as much as possible. We ended up spending the night camping on the road with some amazing sunset. On the next morning we continued the drive to Sossusvlei.

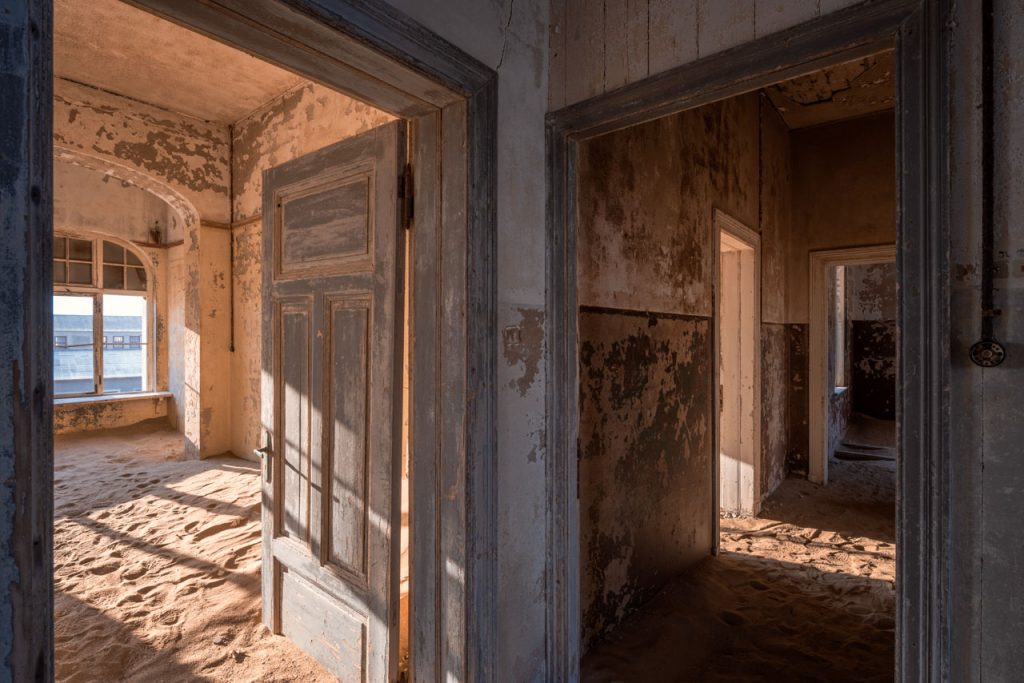
Sossusvlei is a huge area to cover with an amazing perfect photo subject wherever you turn.
We started making a joke afterwards to head back to "Sossus" and spend the rest of our Trip there since it was truly amazing, but we wanted to stick to our route as best as we could to experience the full beauty of Namibia.
After we spend four days at the Namib Naukluft National Park we drove 550 km to Spitzkoppe where we decided to stay for 2 nights. With making a lot of distance throughout our journey we got to see a lot of different aspects of the Country. Camping right next to the mountain or out in the wide plaints is really special. From Desert to Mountains and coast lines you have almost everything and a lot of changes of landscape throughout your journey! We tried to cover as much area as we can but you need to spend at least 2-3 months to understand how massive this Country is.
We continued our adventure at Walvis Bay. Once we arrived, we took a day excursion to Sandwish Harbor, where the Atlantic Ocean meets the desert. On the next drive to Etosha via Windhoek, we had some tire issues and had to change our itinerary, and we decided to travel to the Namibs Valley of 1000 Hills.
Dany Eid 
Looking back I think the open door helicopter shots was one of the most challenging photoshoots for me. Ayed was sitting on one side and I was on the other side so I often could not capture what he's seeing and the other way around. It was extremly windy and on top also we had low light contidions in many images.
To photograph the sunset was very difficult since you have to expose properly and get sharp images while your moving. You have to be careful for your shutter speed and then you have to compensate by increasing your ISO but you don't want to increase to much. I was confident though to achieve the rusults I was looking for since I was shooting with the Fuji GFX medium format.
While shooting on the ground you often you can not take your car and drive offroad so you have to do this additional effort to walk and to be able to get closer to your composition in time. Sometimes you leave the car and even walk for two or three miles and you have to be able to reach your composition before the light will change again. If the golden hour is at 5:00 PM and you want to get the shot - that's your only chance!
This was one of the pictures where I wanted to get those different layers and different colors of the dunes at sunset and you have different shape of and layers and the tree is isolated somewhere under the dune.
Adventure Wrap Up
Preparation and planning is everything - Especially for landscape photography you want to know about the light conditons on your location you have to think of many things other than taking photos. The Country is huge and you need to know and adapt to the speedlimits (Often are not able to go faster than 80 km/h )
As with many adventures, the kindness of the people we met was amazing! When we had a tirebrake and there is no car to be seen. One lonley car went by and send us help from the village close by.
Also Benjamin Brynard, who we met in Walvies Bay, recommended us accomodations and gave us tips. The camp proved to be very good stop and we were met with the great hospitality of the camp manager Elise. Another f-stop Ambassador, Jandre Germishuizen, managed to surprise us with an upgrade for our stay at the camp. After our unforgettable stay at the Nambis Valley of 1000 Hills, we continued to Etosha National Park. We camped for 3 nights at the park, and here we finally had our first direct and close encounters with wildlife.
The challenges with international travel made our return more difficult that we expected. We made multiple trips to the airport but could not board. After changing flights multiple times, we finally managed to return home only a few days late. The adventure, car trouble and travel challenges, did not detract from the quality of what we accomplished.
The images we brought back are outstanding. We experienced the beauty of a vast and interesting country, and it was a very personal experience. The team was great and each one of us contributed to this adventure in many ways.
I’m looking forward to my next trip to Namibia, which I’m planning now and also looking forward to some exciting additions to my next trip!
The Gear I used:
Bodies: Fuji GFX 100 & Fuji GFX 100S
Lenses: GF 23mm & GF 32-64mm & GF 45-100mm
Sukha 70L Adventure and Outdoor Camera Backpack as well as various pouches
A big THANK YOU goes to:
My 2 companions during the trip: Ayed Tadros & Lena Oberhofer
· TechPro Safari for the very well equipped Car
· Namibs Valley of 1000 Hills
· Sossusvlei Lodge for organizing our helicopter trip
· Mola Mola for organizing our excursion at Sandwish Harbor,
and last but not least the 2 brands I represent:
f-stop & Fujifilm
Photocredits: Dany Eid
Behind the scenes photos & video: Lena Oberhofer
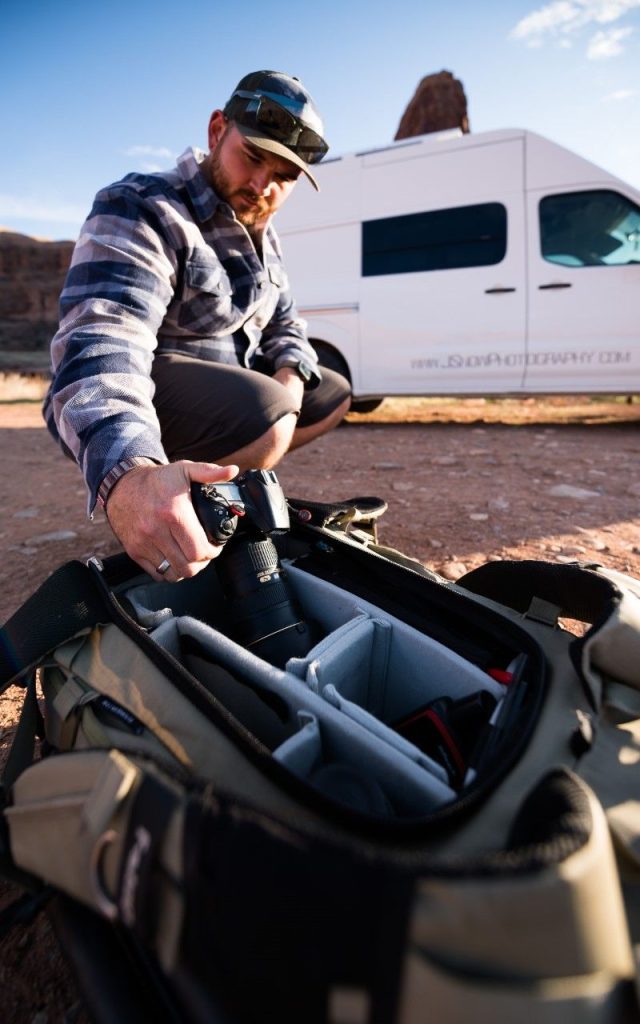
Joshua Snow is a Moab, UT based ex-engineer turned fine art Nature photographer, who specializes in creating ethereal and dramatic imagery and teaching advanced capture and processing techniques in his immersive photography workshops all over the US and world! Most of Joshes' time spent domestically is wandering around in his hand build travel van with all of the creature comforts of home with his partner and two rescue pups. In addition to f-stop, Josh represents Nisi Filters, Gnarbox, Lume Cube and Data Color as a brand ambassador and works closely with Really Right Stuff tripods as a beta tester and writer.
Joshua Snow 
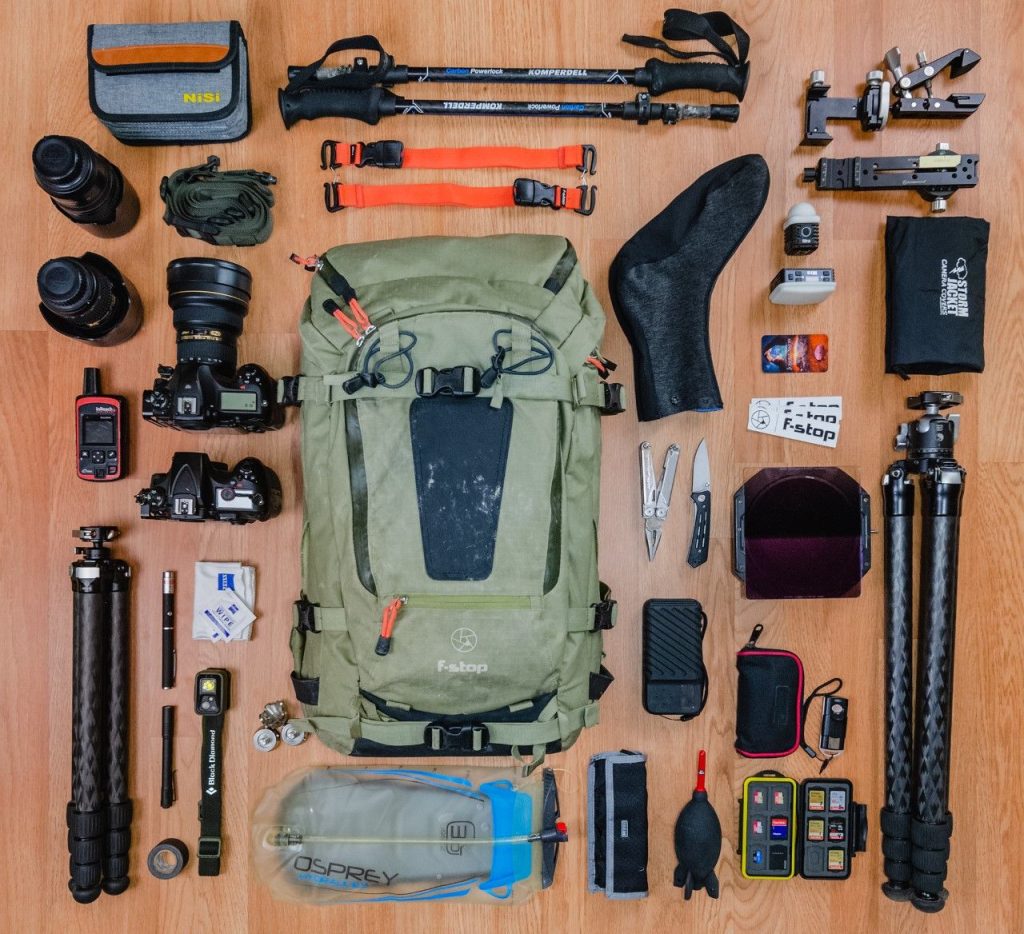
I am a long time Nikon user and fanatic and my gear arsenal is comprised of a Nikon D850, D810, 2x 14-24’s, 24-70 and 70-300 Vr. Over the years I have curated this arsenal for purpose, versatility, and practicality. The Nikon D850 is a powerhouse with features that have helped shape the way I compose images.The D810 is a faithful backup in the untimely event the 850 fails, which knock on wood, has never happened.
The lenses are staples in my bag and since a majority of what I shoot is captured with a wide-angle it's imperative I have a lens that is capable of focusing very closely, is sharp and versatile for landscapes and night scenes. The 24-70 covers a lot of situations as well and allows me the versatility of capturing scenes in different ways, creating focal length blends for unique takes on popular locations and more. The 70-300 although not Nikon's sharpest tele-zoom lens is very light and since it doesn’t get as much use as the others, weight is important, and it's certainly sharp enough.
Joshua Snow 
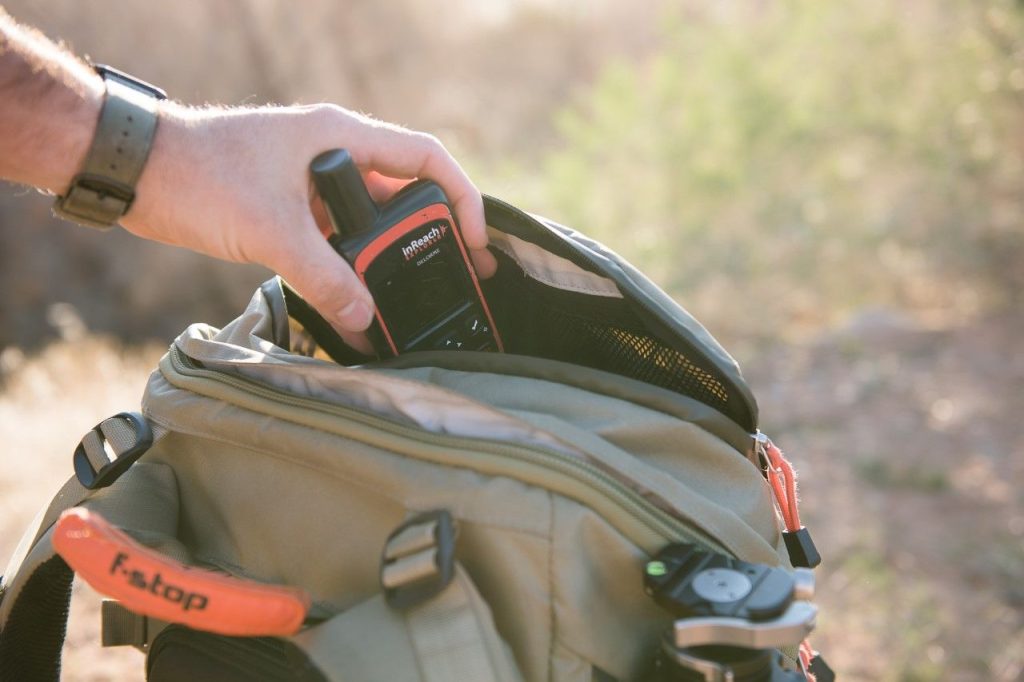
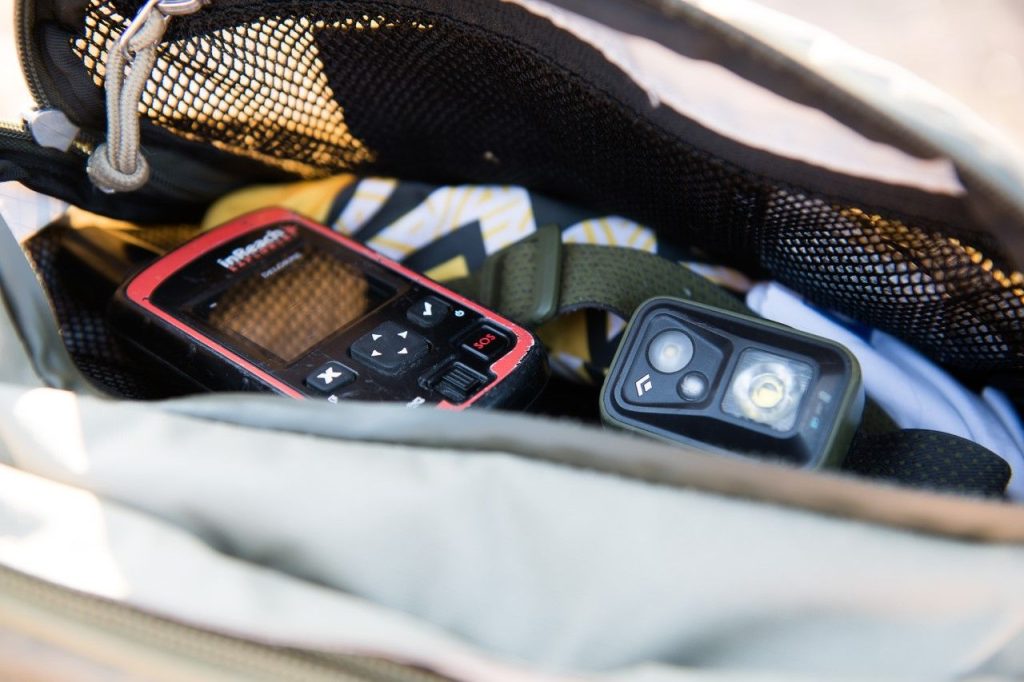
All of my essential gear squeezes into an XL ICU inside my Tilopa with a little room left over for filters, remotes, flashlights, a GPS, lens cloths, hand warmers, a water bladder and a few other odds and ends I like to keep with me.The side pockets don't get much use since I typically have a tripod or two strapped to the side of the bag, but the top pouch and internal upper compartment share the load of these odds and ends and some snacks. Almost everything I carry with me aids in my photography, whether its snacks to keep me energized, a multi-tool to remove cactus barbs from getting a little too close, or hand warmers to keep my fingers, toes or even lens warm when shooting in high altitude or cold locations. I always keep my GPS/satellite messenger clipped to me in the event of an emergency, or to just keep in touch with my better half when I'm In the backcountry
Joshua Snow 
I am always itching to get on the road when I am home in Moab, Ut for short periods to catch up on website and business work, each time getting a little less attached to a brick and mortar place to live. I love being on the road, wandering and exploring areas I either have visited or new places I've yet to visit. I am greatly inspired by the idea of waking up somewhere stunning and different each day, pushing open the van door with mountains and stunning beauty just feet away.
You can find Joshua's work on his website, Instagram and Facebook.
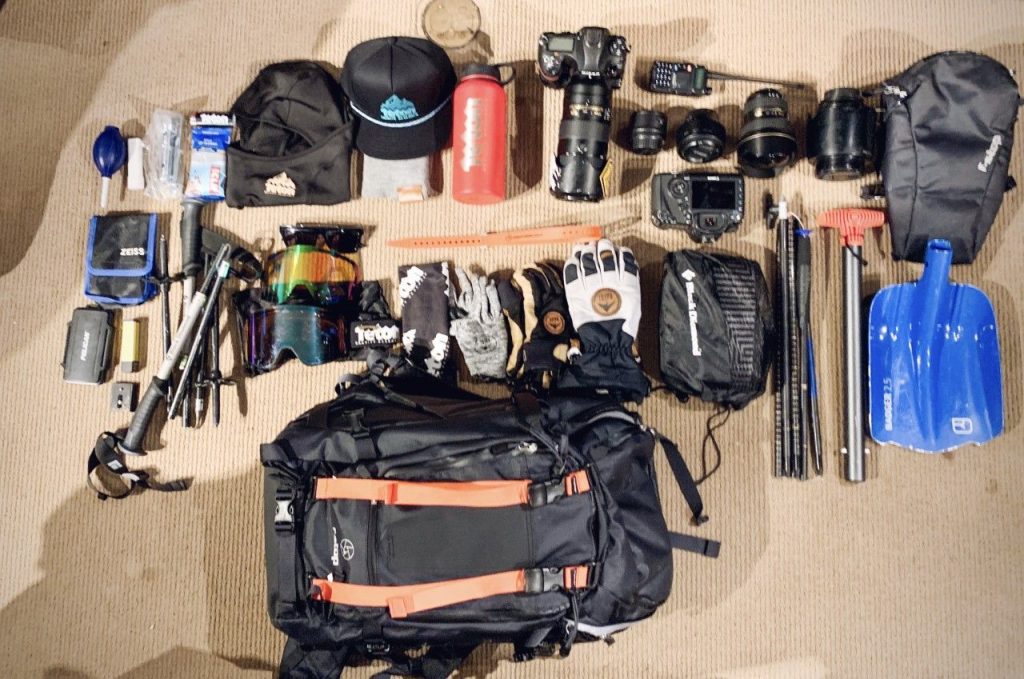
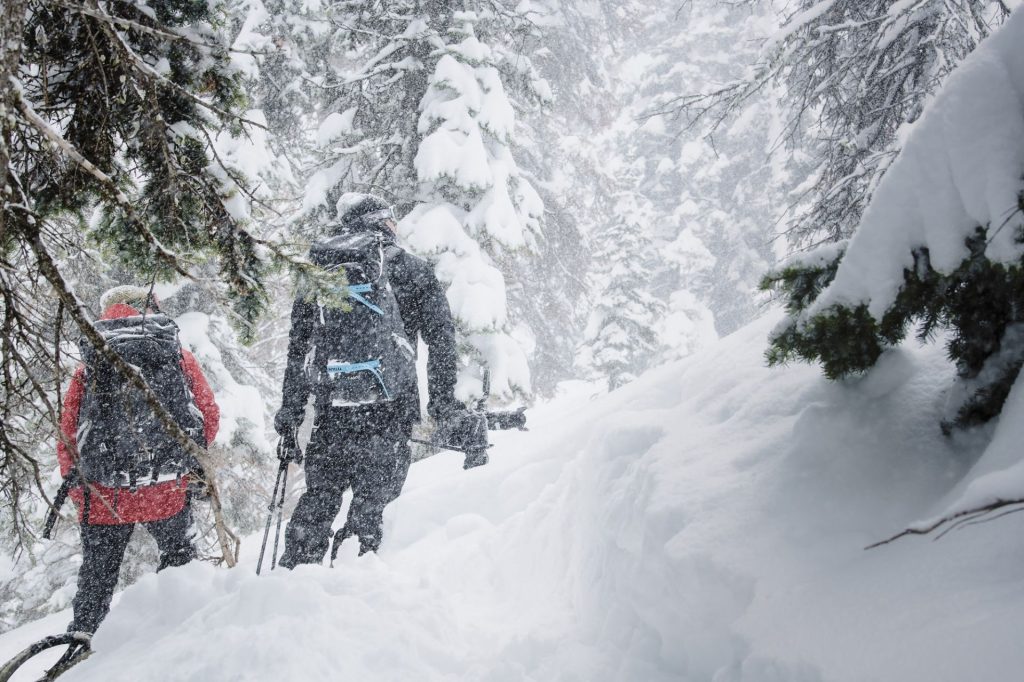
Nic Alegre grew up in East Hampton, New York and is an award-winning photographer for Teton Gravity Research. After graduating from Villanova University in 2008, Nic lived and worked in Manhattan for a few years before he followed his instincts west and spent a number of years in both Whistler, British Columbia, and North Lake Tahoe, California before landing in Jackson Hole Wyoming as the first lead photographer in TGR's 25-year history. In December 2018, he won Powder Magazine's Photo of the Year at the 19th annual Powder Awards in Breckenridge, Colorado and has been nominated four times since 2015. Last year, he was a finalist twice for the 2019 Red Bull Illume Photo Competition - RAW Category.
Nic Alegre 
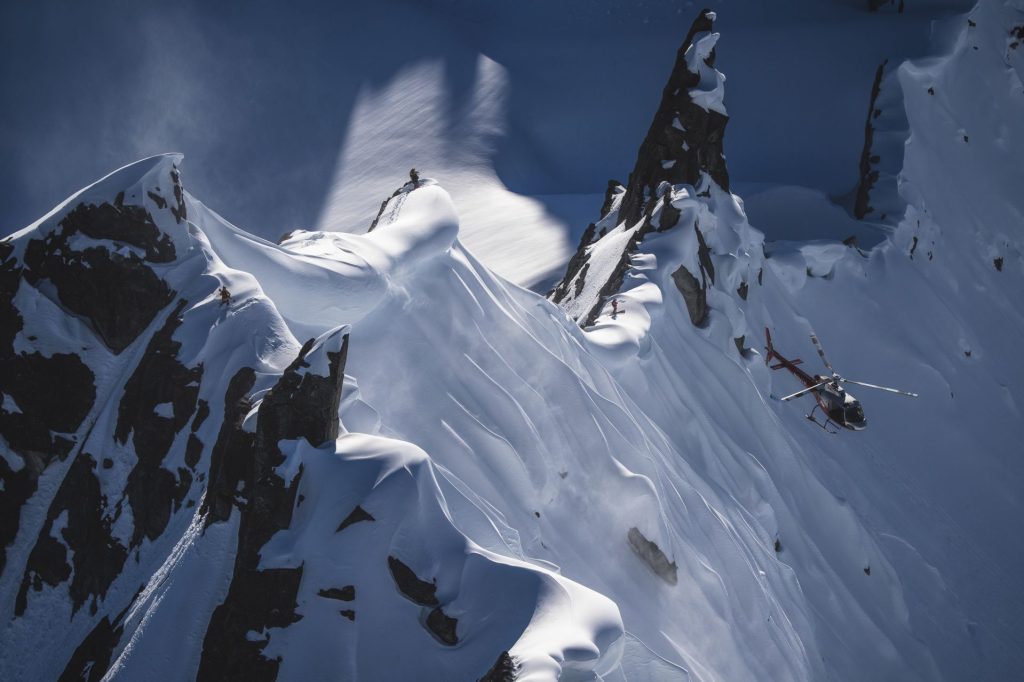
I shoot Nikon D5, D4, and D850 bodies and Nikon lenses. I generally carry a single body in my Tilopa pack with a combination of between 4-6 lenses. When on assignment in Alaska and shooting dynamic and quickly changing action scenes hanging from a helicopter, I will carry two bodies at the same time that are usually mounted with 70-200mm f2.8 and a 24-70mm 2.8 Nikon lens. In some instances, I will switch out the 24-70mm for a 14-24mm 2.8 wide and keep a 2x teleconverter on me to attach to the long lens if the situation calls for it.The other lenses usually in my quiver are 50mm 1.4, 85mm 1.4 and a 300mm 2.8. I never use a tripod to shoot because of how much I move.
Nic Alegre 
I learned from pro's using Nikon and began shooting with their second-hand gear and never looked back. Nikon glass is the best in my opinion and the camera bodies have been battle axes for me. The environments I typically work in are harsh, wet, cold and dramatic and the Nikon gear, much like my f-stop bag, have proven that they can weather the storm in my expedition oriented shooting assignments.


Discount Applied Successfully!
Your savings have been added to the cart.